The eventual necessity of roofing glue for any roof can not be over-emphasized at all. Hence the need to discuss these unsung heroes – roofing glue for shingles. We will be discussing the nitty gritty of roofing glue for shingles.
Table Of Contents:
- What is Roofing Glue for Shingles?
- Roofing Glue for Shingles: Sealants and Cement
- Using Liquid Nails for Loose Shingles
- Replacing Missing Shingles: Tools & Techniques
- Repairing Broken Shingles after Severe Weather Events
- Enhancing Wind Resistance for Asphalt Shingle
- Understanding Wind Speeds & Shingle Classifications
- Upgrading Adhesive Performance in Asphalt Shingle
- FAQs in Relation to Roofing Glue for Shingles
- Roofing Glue for Shingles – A Recap
What is Roofing Glue for Shingles?
Roofing glue, also known as roof cement or asphalt roofing cement, is a type of adhesive used to bond shingles and other roofing materials together. It’s an essential component in any roofing project because it helps seal out water and prevent leaks.
Hot Asphalt and Coal Tar Pitch for Membrane Roofs
Hot asphalt, derived from petroleum processing, is heated before being applied between layers of felt paper or fiberglass mats. Coal tar pitch, a byproduct of coal distillation processes, offers increased resistance against water penetration due to its natural chemical composition. Both are popular choices for membrane roofs due to their excellent waterproofing properties.
Cold-Applied Asphalt-Based Adhesives for Modified Bitumen
Modified bitumen systems require cold-applied adhesive solutions that contain rubberized polymers for enhanced flexibility and durability. These adhesives are spread between layers of modified bitumen sheets, creating a strong bond that withstands temperature fluctuations and weather conditions.
The best part? No need for torches or hot kettles, making it a safer option for both DIYers and professionals alike.
So there you have it – the lowdown on roofing adhesives. Whether you’re building your own roof or you’re a roofing professional, such as a contractor, surveyor, or architect, these adhesives are crucial to ensuring your roof remains stable and durable.
Don’t forget to consider roofing cement, asphalt shingles and shingle tabs as well for your roofing needs. Now go forth and conquer your next roofing project with confidence.
Roofing Glue for Shingles: Sealants and Cement
Let’s chat about the adhesives.
When it comes to asphalt shingles, using roofing cement is essential for preventing wind-uplift damage. But how do you choose the right sealant or cement?
Whether you’re an individual building your own roof or a roofing professional, such as a contractor, surveyor, or architect, it’s important to select a high-quality adhesive that will keep your shingles firmly in place.
In addition to applying the adhesive correctly, placing heavy objects like bricks on top of your glued-down shingles will help them dry properly while ensuring they stay put during high winds. Bonus tip: Use caution when walking on freshly glued shingles – nobody wants footprints all over their new roof.
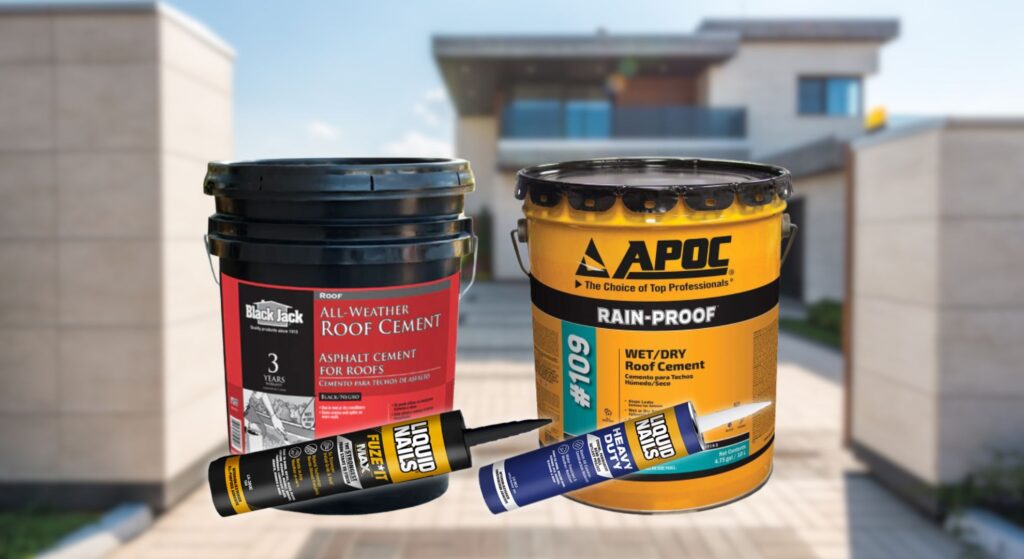
At Myrooff, we recommend using roofing cement to glue down the shingle tab. This type of adhesive is specifically designed for asphalt shingle and will provide a strong, long-lasting bond.
So, whether you’re repairing a damaged roof or installing a new one, be sure to choose a high-quality roof cement to ensure your shingles stay put for years to come.
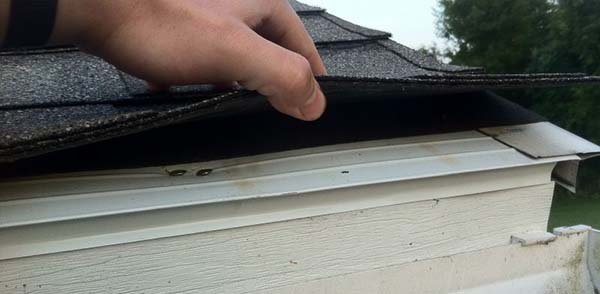
Using Liquid Nails for Loose Shingles
Picture this: you’ve got a loose shingle, and the weather forecast predicts rain or snow.
Panic not.
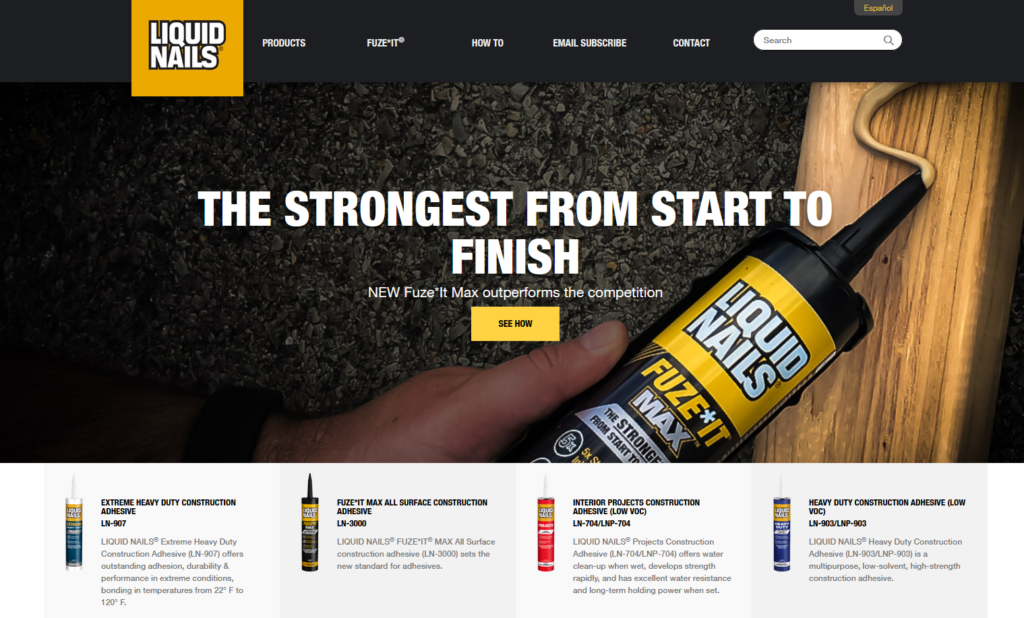
Liquid nails are here to save your roof from potential damage.
This versatile adhesive is perfect for gluing down those pesky loose shingles in no time.
Benefits of liquid nails in various climates
Why choose liquid nails over other adhesives?
The answer lies in its ability to withstand extreme temperature conditions and work effectively even on wet surfaces.
ensures that your roof remains intact during harsh weather events, providing peace of mind when Mother Nature strikes.
Application tips for optimal results
- Clean the surface:
Before applying liquid nails, make sure both surfaces (the underside of the shingle and the area it will be adhered to) are clean and free from debris.
- Select an appropriate product:
Choose a product specifically designed for roofing applications.
- Squeeze out evenly:
Apply a generous amount of adhesive along the entire length of each loose shingle tab, ensuring full coverage.
- Press firmly:
Press the shingle down onto the adhesive, applying even pressure to ensure a strong bond.
- Cure time:
Allow at least 24 hours for the adhesive to cure fully before exposing your roof to any severe weather conditions.
By heeding these pointers, you’ll be on the path to fixing up any loose shingles and guarding your abode against possible harm.
So go ahead, grab that caulking gun and show those loose shingles who’s boss.
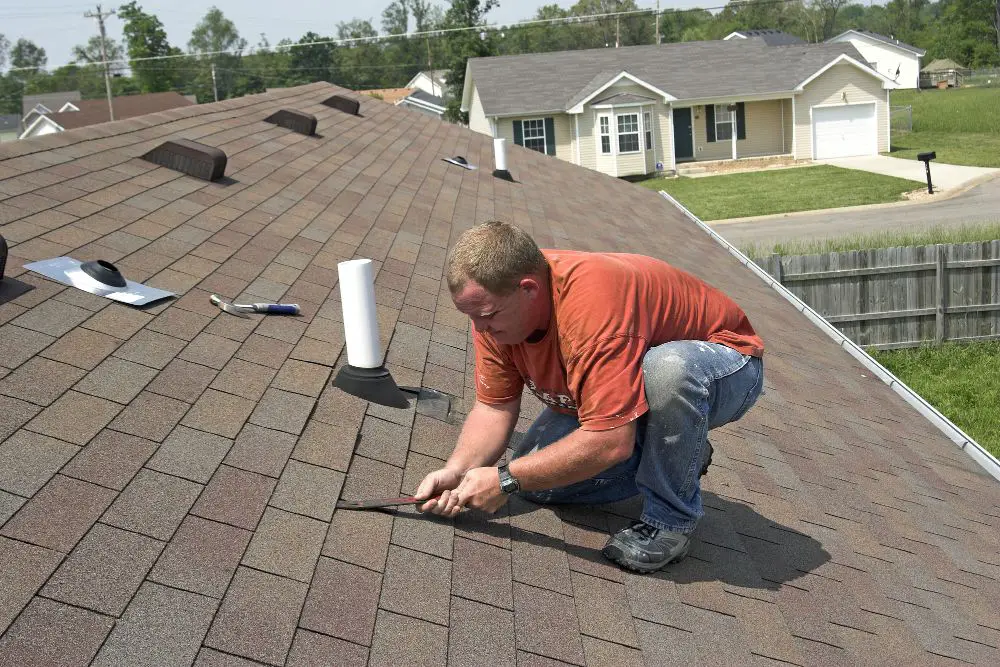
Replacing Missing Shingles: Tools & Techniques
Let’s get cracking.
To replace missing shingles like a pro, you’ll need the right tools and techniques.
Fear not. I’ve got your back with this handy guide on how to tackle those pesky gaps in your roof.
Essential tools needed
First things first: gather all necessary equipment for the job:
- A hammer – for driving nails into place.
- A flat pry bar – perfect for removing damaged shingles.
- A software knife (utility knife) – essential for cutting through asphalt shingle tab.
- Roofing nails – because we can’t just rely on roof cement.
Step-by-step process of replacing missing shingles
Step #1: Carefully remove any damaged or loose pieces using the flat pry bar. Be gentle – you don’t want to damage surrounding areas.
Step #2:Safety first. Ensure that you’re working on a stable surface by setting up proper ladder support and wearing appropriate footwear.
Step #3:Pick out new asphalt shingle, ensuring they match existing ones in color, style, and size. This will maintain uniformity across your roof.
Step #4:Cut off any excess material from the new shingle using your software knife. This will ensure a perfect fit.
Step #5:Slide the new shingle into place, making sure it aligns with adjacent ones and covers all exposed nail heads.
Step #6:Nail down the new shingle securely, driving nails through both its top edge and bottom corners to prevent wind uplift.
Step #7:To finish up, apply some roof cement or adhesive under shingle tabs, pressing them firmly onto the surface for maximum bonding.
Congratulations. You’ve successfully replaced missing shingles on your roof like a true DIY master.
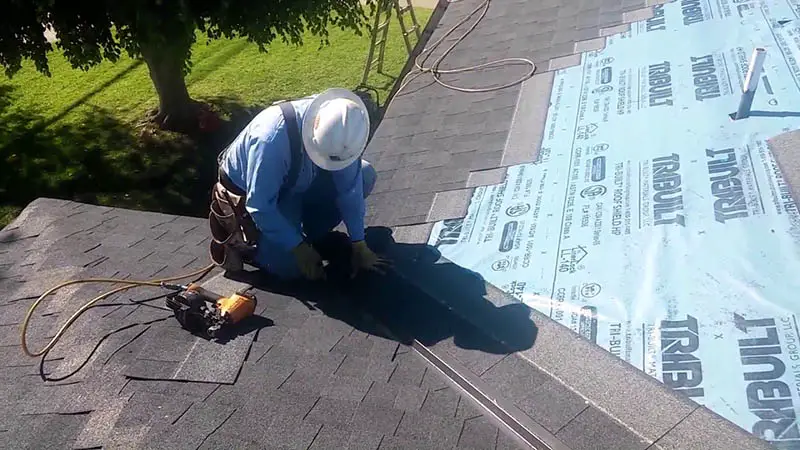
Repairing Broken Shingles after Severe Weather Events
Stormy weather can wreak havoc on your roof but don’t fret.
We’ve got some tips to help you repair broken shingles and keep your home protected.
To start, using a caulking gun is essential for applying roofing sealant beneath damaged corners with accuracy.
This handy tool allows you to apply roofing sealant beneath damaged corners with precision and ease.
Simply dab the sealant under the broken area and press down firmly.
To smooth out any excess material, use a putty knife for a clean finish.
Roof Sealant Application Techniques
The key to successful repairs is choosing an appropriate roof sealant.
Pick one that works well with asphalt shingles and offers long-lasting protection against harsh elements.
When applying the adhesive, make sure it covers all exposed areas while avoiding over-application which may cause damage or unsightly bulges in your roofline.
Importance of Gutter Inspections
Gutters play a vital role in maintaining your roof’s integrity by directing water away from its surface.
A regular inspection helps identify colored granules flushed out from damaged shingle areas during storms – preventing accumulation over time that could lead to further issues like leaks or mold growth inside walls or ceilings below.
So, grab your ladder and inspect those gutters to keep your roof in tip-top shape.
Heed these steps to achieve long-term, solid roofing and fix any damaged shingles after harsh weather.
Enhancing Wind Resistance for the Asphalt Shingle
We all aspire to possess a roof that can stand up to the elements and endure for many years.

Especially when it comes to wind resistance in asphalt shingle roofs.
How can you guarantee your roof is of good quality?
Identifying Vulnerable Areas
To start with, examine your existing roof for any signs of damage or weak spots.
This will help you identify areas where additional adhesive materials may be needed to improve wind resistance performance.
Proper Installation of Additional Adhesive Materials
The factory-installed adhesive strip on the asphalt shingle might not provide adequate protection against wind-uplift damage in hurricane-prone regions or other locations subject to high winds.
No worries. There’s a solution: double-sticky-sided mastic tape.
By removing cellophane strips and installing this extra layer under affected sections, you’ll give your roof an added boost against strong winds.
Tips for Mastic Tape Application:
- Clean the area thoroughly before applying the tape – dirt and debris could affect adhesion.
- Cut the tape into manageable lengths for easier application.
- Apply firm pressure along the entire length of each piece to ensure proper bonding between surfaces.
- Avoid stretching or distorting the tape during installation as this could weaken its effectiveness.
Remember: The key to a wind-resistant roof is regular maintenance and proper installation of adhesive materials.
Roof cement, sealants, and mastic tape are your allies in the battle against strong winds – use them wisely.
Understanding Wind Speeds & Shingle Classifications
Hey there, future roofing expert.
Before we dive into the nitty-gritty of wind speeds and shingle classifications, let’s understand why it’s essential for both homeowners and roofing professionals.
Wind speed knowledge ensures that your roof remains resilient during extreme weather conditions while selecting appropriate shingle classifications guarantees a perfect match for your location.
Determining Local Wind Speeds
To begin, it is essential to determine the basic wind speed in your area; this can be done by consulting websites such as ATC Hazards by Location which provides precise data based on zip codes or coordinates.
You can easily find this information on websites like ATC Hazards by Location, which provides accurate data based on zip codes or coordinates.
Selecting Appropriate Shingle Classifications
Moving on to shingles – they come in various classes depending on their resistance to uplift forces caused by high winds:
- Class A: Designed for areas with moderate winds up to 60 mph (97 km/h).
- Class D: Suitable for regions experiencing strong winds up to 90 mph (145 km/h).
- Class F: Engineered for locations with very high winds reaching up to 110 mph (177 km/h).
- Class H: The ultimate choice for hurricane-prone areas with winds up to 150 mph (241 km/h).
By considering both local wind speeds and shingle classifications, you can make an informed decision on the best roofing materials for your project.
Pro tip: Consult a professional roofer or architect if you’re unsure about selecting the right shingles – they’ll be more than happy to help.
In short, understanding wind speeds and shingle classifications is crucial in ensuring that your roof stays strong and durable during extreme weather events.
The key takeaway: always choose wisely.
Upgrading Adhesive Performance in Asphalt Shingle
Alright, let’s talk about upgrading your asphalt shingle adhesive game.
Did you know that the Asphalt Roofing Manufacturers Association (ARMA) recommends familiarizing yourself with appropriate tab adhesives for rapid sealing following application?
This knowledge is essential to ensure your roof can withstand strong winds and harsh weather conditions.
So, what types of tab adhesives are available?
- Cold-applied: These adhesives are applied at room temperature and require no heating or mixing equipment.
- Solvent-based: Solvent-based adhesives provide excellent bonding strength but may have longer drying times than other options.
- Elastomeric polymers: These flexible materials offer superior resistance against wind uplift and extreme temperatures.
To achieve optimal performance, high-wind-resistant shingles may require high-speed/high-shear mixers combined with carefully selected asphalts and elastomeric polymers.
Factors Affecting Adhesive Performance
A few factors can impact the effectiveness of your chosen adhesive material:
- The quality of the roofing substrate: A clean, dry surface will allow for better bonding between the adhesive and shingle tabs. Ensure proper preparation before applying any adhesive product.
- Temperature & humidity: The environmental conditions during installation are crucial in how well an adhesive performs. Always follow manufacturer guidelines regarding ideal temperature ranges when applying adhesive products.
- Application technique: Applying the right amount of adhesive and using the proper tools can make a significant difference in the final outcome. Be sure to follow the instructions provided by your chosen product’s manufacturer for the best results.
By taking these factors into account, you’ll be well on your way to upgrading your asphalt shingle adhesive performance and ensuring a long-lasting, resilient roof.
FAQs in Relation to Roofing Glue for Shingles
What is the Best Roofing Glue for Shingles?
The best adhesive for roofing shingles depends on the type of shingle and the specific application. For most shingles, it is recommended to use a high-quality roof sealant or cement, such as Henry’s Wet Patch Roof Cement. Modified bitumen systems may require cold-applied adhesives like GAF Matrix 201 Premium SBS Flashing Cement.
Should Roof Shingles be Glued Down?
Yes, gluing down roof shingles can enhance their wind-uplift resistance and overall performance. Using an appropriate adhesive, such as a roofing sealant or cement, ensures that the shingle tabs are securely attached to the underlying layer. This prevents them from lifting during high winds and reduces potential damage.
Can You Glue Shingles on a Roof?
Yes, you can glue loose or damaged asphalt-based shingles using suitable adhesives like liquid nails (Selleys Liquid Nails Heavy Duty) or specialized roofing cement (LePage PL 600 VOC Construction Adhesive). These products provide strong bonding while maintaining flexibility to accommodate temperature changes.
Roofing Glue for Shingles – A Recap
In conclusion, there are various types of roofing glue for shingles. Hot asphalt and coal tar pitch are commonly used for membrane roofs, while cold-applied adhesives work well with modified bitumen systems. Proper application techniques and regular maintenance checks are necessary to ensure the effectiveness of roofing glue for shingles.
Using liquid nails can be beneficial in replacing missing shingles. Repairing broken shingles involves using roofing sealant and inspecting gutters regularly.
To enhance wind-uplift resistance, you can add adhesive strips or mastic tape. Additionally, roof flashing tape and ice-and-water-shield products provide added protection against water damage.