Hmetal roofing“>ow to cut angles on metal roofing? You asked, right? Nowadays, metal roofs are widely being used, especially in cottages, multi-story housing complexes and low-rise houses. Because of the difference in the roof and pitch structures, metal roofing needs certain attention, precision and most certainly, knowledge.
Cutting a metal roof can sometimes be a tricky job for homeowners, mostly because of the density of the material and its high durability.
Speaking of which, metal roof panels are the ideal choice for many outbuildings because of these features. Due to their lightweight design and high durability, many people use metal roofs as the best roofing solution.
However, in order for them to be effective, they need to be installed in the right way.
Cutting with Care
Before we even start explaining the process of cutting, you should make sure that you have:
- A strong and steady work surface
- A combination square (to measure)
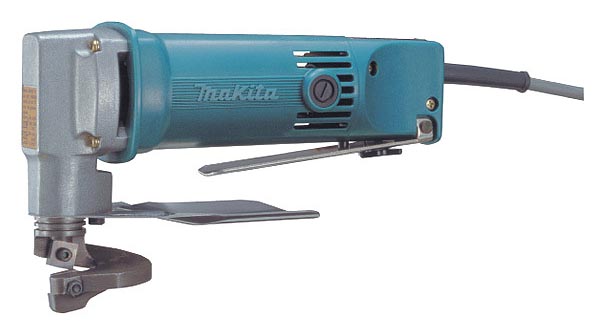
- Power shears (to cut)
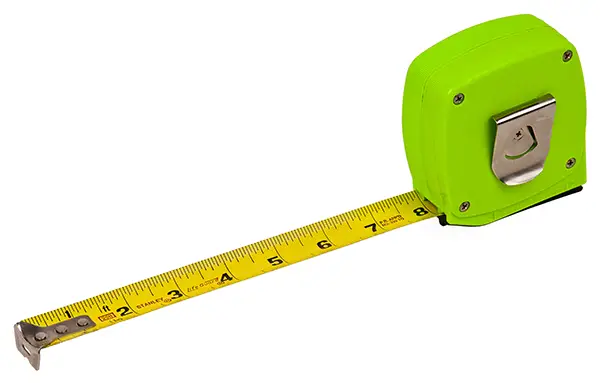
- A measuring tape
- A marker
- Corrugated metal roof panels
Cutting metal roofing material needs to be done with utmost care. This is due to the galvanized zinc coating on the panels which can leave the area open to rusting if scratched.
So, cutting these panels should be done with minimal risk of damaging them, which leads us to the step-by-step cutting technique.
-
- Step 1: Measuring & Preparing
The first step in the process is preparation and measurement. Make sure to find a perfectly flat sheet and lay it down with the underside facing up so you can carefully cut without the metal sliding around.
During the measurement process, the first thing you want to do is make sure that you are starting square, meaning that every vertical line is running square to your eave.
This is important because if the first panel is tilted a bit, the other panels coming after it will be tilted as well. Precision is very important in the measurement phase.
After you have laid down the surface, you should use the tape measure and a marker to mark the points where you want to start cutting.
Then place the combination square on the mark accordingly. Once the combination square is dragged along the cut line, your precise measurements will be drawn.
-
- Step 2: Cutting the Metal Panels
The next step is a painful one for many homeowners, but it is not actually a difficult task. All that you need to know before and during the corrugating process is that it should be done with utmost care.
If not, there may be blemishes on the surface of the metal which, if open to rust, may weaken the roofing.
To begin this process, you should get the right cutting tools. The ideal tool to perfectly cut corrugated metal is power shears.
Make sure that they perfectly align with your measurements, and remember that being even a tiny bit off can cause irreparable damage to your corrugated sheeting. Once you are satisfied with your measurements and alignment, start cutting the metal.
*Note: You can also use a circular saw with a metal cutting blade to cut the panels, but make sure the work is well-secured and always wear hearing protection.
Circular saw are also a great choice for a cutter mainly for thicker roofing found on old buildings. However, when using a circular saw as a cutter, you should pay attention to the diameter of the saw blade and bore and make sure it matches the bore on the saw itself.
Also, attaching the tool to a workbench can make your work easier and more precise, and also allows you to move the material seamlessly instead of the cutter.
-
- Step 3: Steady Until the End
The third and final process involves using the cutter (power shear) slowly and pushing it gradually along the corrugated panel.
Although this may sound easier than it actually is, you may find that at some point the power shear comes to a dead end.
If something like this happens, the best way to react is to move the blade at a different angle and carefully cut through the section instead of using force to thrust it forward.
If you are patient and careful when cutting along the corrugated panel, the end result will be a perfectly straight line and a flawless metal roof for your house.
-
- Step 4: Installation Using Exposed Fasteners
Once your roof is done being cut, you can install the panels and make sure that they are once again square so that each of them installed afterwards is straight.
Once you make sure of this measurement, put a screw into the fastening strip and keep it steady before installing the actual screws along the face of your roof.
The spacing between each fastener in your metal roof should measure around 12 inches and should be tight, however not over-tight because of the eventual tension.
Once you do this, install the exposed fasteners along the center of the pan and make sure that every fastener threads through the sealant tape beneath, creating a watertight seal.
Attach three fasteners – one on each side and one in the middle – and you are ready to install more panels until the roof is completely covered!
A Final Word
While metal cutting blades are usually affordable and practically disposable, the act of cutting metal takes a lot of patience and precision to ensure success.
One thing you have to remember during the process is that cutting metal that is warranted will likely void the warranty, which makes the process very risky.
For that reason as well as the safety concerned with this process, many people choose professional contractors specializing in metal roofs. If you are interested in professional service, get in touch with us and get a free consultation/quote!
Last update on 2023-07-04 / Affiliate links / Images from Amazon Product Advertising API