Roof felting – A great way to weatherproof your garden shed or tool shed is by applying felt to the roof. When you install roof felt as part of a DIY weekend project, you must ensure that each row of felt is flat on the surface and that there is plenty of overlap between each successive row of felt.
Contents
The guide below will walk you through all the steps that are part of the process of installing and do the shed roof repair felt. This is a fairly straightforward DIY weekend project that does not require a high level of skill.
What you will need when felting a shed roof
The following supplies are required as part of this installation project:
- Felt adhesive and brush;
- Hammer (with claw);
- Ladder
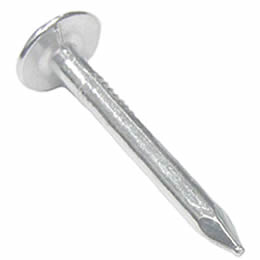
- Nails (either simplex or plastic cap felt nails);
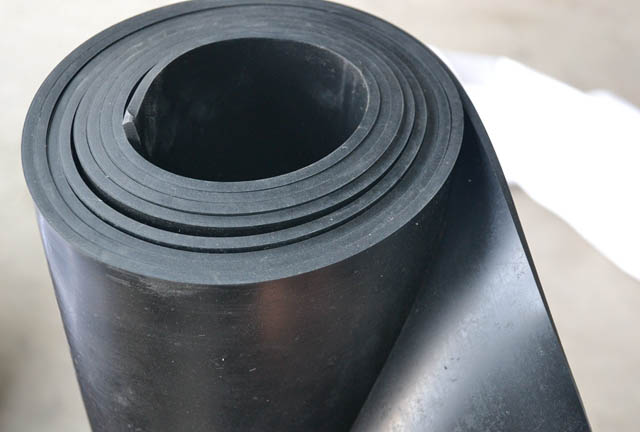
- Roofing felt (either 15-pound or 30-pound);
- Utility knife
One important consideration to keep in mind is the type of felt that you will be using as part of the project. (It is part of how to refelt a shed roof also.)
The more protection that you need for the shed, the heavier the felt needs to be when you install it. You have two basic options when you go to a home improvement store: 15-pound and 30-pound felt.
The 30-pound felt is twice as strong and twice as durable as the 15-pound felt.

The process of roof felting a shed roof
The following 10 steps will help you felt a shed roof. You can also use it as a guide on how to refelt a flat shed roof and how to install roof felt. This process assumes that your shed roof is angled with a ridge on the very top and not flat.
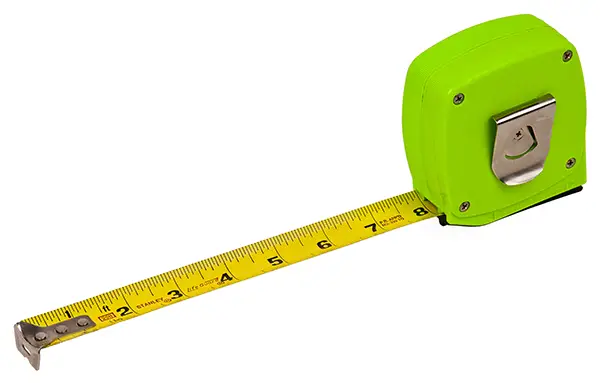
Step 1: Measure the roof
The first step in felting a shed roof (either angled or flat), is calculating the exact dimensions of your roof. You can do this by calculating the length and width of each side of your roof. Simply multiply length x width, and you will find the area of one side.
Then, repeat the process for the other side. Keep in mind that you will have to account for excess felt that is necessary as part of the overlaying of different rows of felt.
Step 2: Buy the roof felt
A conventional roll of felt is enough for 432 square feet. Since you will have overlap between rows, this works out to a total coverage area of 400 square feet (the dimensions of a 20’ x 20’ roof).
Make sure you have enough roof felt – you don’t want to have to stop mid-way through the project to buy more felt. This is also true if you are refelting a shed roof.
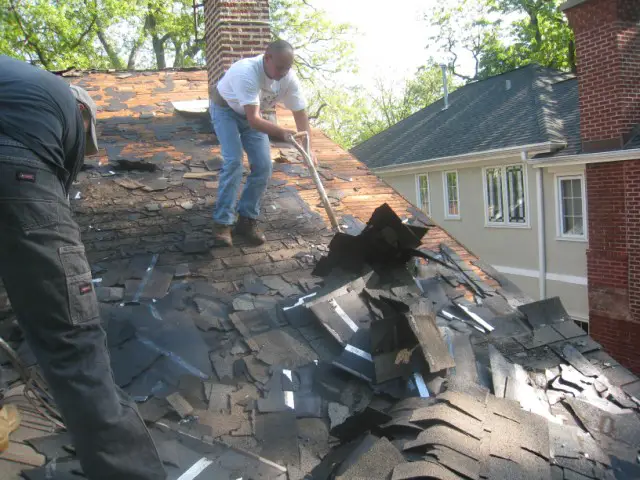
Step 3: Clean and prepare the roof
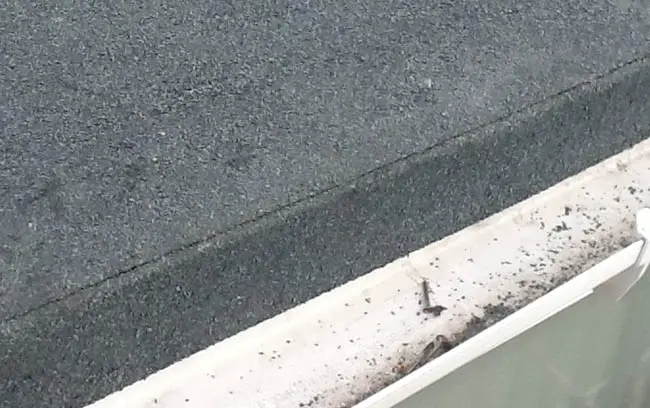
Most likely, your garden shed roof is not immediately ready for installation, especially if it is flat. Remove any debris, get rid of any nails or other structures poking through the top of the roof, and make sure that the surface is completely dry and clean.
Repair anything that needs repairing. Also, strip any old felt that may already exist. Never apply roof felt to a surface layer that is wet or damp – it could lead to warping of the decking below, or even to the rotting of the shed roof.
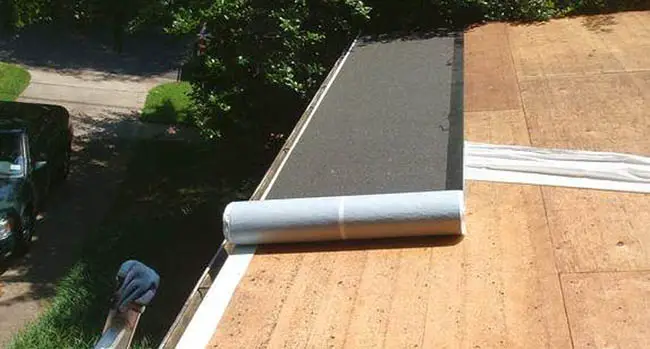
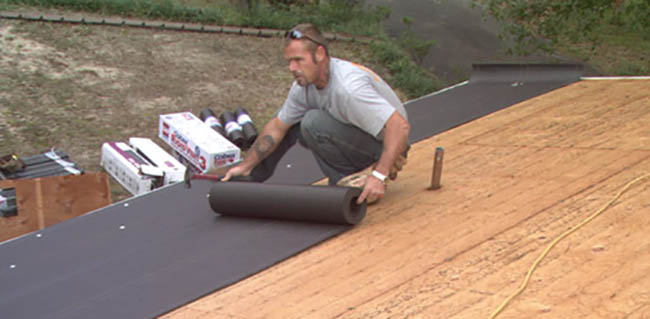
Step 4: Roll out the first layer of felt
You will need to begin at the very bottom of one side of the roof. Then, rolling the felt lengthwise, move it across the surface of the roof shed. Make sure it stays flat.
It is important to point out that you are rolling the felt lengthwise and not up and down when you install roof felt.
Step 5: Allow for felt overhang
As you get ready to end the first row of the felt, make sure that you leave at least one-half inch extra felt that will . You need to do this in order to waterproof the roof properly. With the felt overhang, water will roll off the roof without getting the decking below wet.
Step 6: Tack and secure the felt
You’ve now laid the first flat row of felt, but have not yet secured it. You will need to tack one end of the felt to hold it in place. Then, pull the felt tight, but not so tight that you tear it. You need to make sure that the felt remains flat.
Step 7: Nail the felt
Now it’s time to nail the felt with the simplex or plastic cap roof felting nails. You should nail the felt in a regular pattern. Also, make sure you are driving each nail flush.
Most people prefer to set the nails with 12-inch centers along the bottom edge, and then 30 to 36-inch centers along the top. At first, this may not look quite right to you – it may appear that the top nails should be further away from the bottom edge.
But remember: you need to leave room for the overlap. You don’t want to be nailing the new row of nails right on top of the old row of nails!
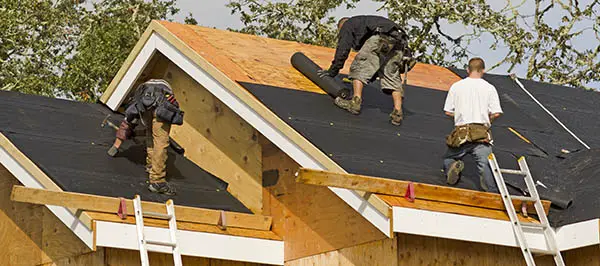
Step 8: Add new felt layers
Now it’s time to roll out the second row of felt and make it flat. You want to roll back the felt in the opposite direction of the first felt row.
Thus, if you imagine rolling the first row from west to east across the roof, you are now rolling the second row from east to west. Also, you will want to make sure that there are at least four inches of overlap with the first row.
You need to do this to ensure that the roof is optimally waterproofed.
You also need to make sure that you are applying each new row of felt in a perfectly parallel manner.
The good news is that most roof felt has guide lines stenciled on it so that you can get the right orientation and make sure that you are rolling very straight and very flat. Repeat the process of adding new felt rows until you have almost reached the top of one side of the roof.
At this point, add enough felt to make sure that you have overlapped the ridge of the roof by at least one foot.
Step 9: Repeat for the other side of the roof
Now that you have finished one side of your shed roof, it’s time to repeat for the second side of the roof. Here you will need to follow the same directions.
Start at the bottom of the roof and make sure each row is completely straight and pulled tight. With each new row, you must create an overlap of four inches.

Step 10: Final review and weatherproofing
It’s time now for a final review of the project. You may find that part of the felt has torn or ripped. You will need to go back and repair it (directions for repairs below).
If this felt is not meant to be temporary, you must cover all nail heads with a covering such as roofing tar to make sure they are waterproof.
Also, you should tidy the overhangs. You can neaten the overhang at each corner by folding it down and nailing it securely.
You can use your utility knife to cut a slit in the felt overhang at the very top of the roof, and then fold the felt down there and nail securely at regular intervals along the gable. You can then hide the folded-over roofing felt with the use of fascia boards.
Once you’ve done this, you’re done! Clean up your supplies, and make sure that you’ve disposed of any trash in an environmentally friendly way.
How to replace felt and the process of refelting a shed roof
As noted above, it may be the case that the felt needs repairs. As a rule of thumb, you should apply new felt on your shed every 2-3 years if it is exposed to the elements and not sheltered.
This means you will need to repair the felt more if it is exposed to rain and snow. The good news is that repairing felt is easy.
If the roof felt tears, cut a piece of felt that is large enough to cover the tear with lots of overlap, slip the top under the next layer above it, and nail it into place.
Keep in mind that if you are looking for a more permanent type of roof coverage, you might consider using roll roofing, which is specially designed with a mineral coating to resist bad weather. It is also easy to apply and install.
Or, as noted above, you can simply apply the heavier weight felt that offers more durable protection.
Safety issues when laying roof felting
When working on any roof and laying roof felt, you need to keep safety foremost in your mind. Therefore, never step on a felt roof before it has been secured to the decking with nails. The same is true about shed roof repair.
Otherwise, there is a chance that the felt will slip and you will fall off the roof. Also, always take care when using ladders.
Conclusions on how to roof felting installation
Installing felt to a shed roof is an easy DIY weekend project. It requires only a limited amount of materials, and since the coverage area of a garden shed is much smaller than that of your house, it’s also a relatively quick project.
By taking the time now to felt a shed roof, and repairing any layer as needed, you can help to protect it from the elements and ensure that the roof is weatherproofed.
Last update on 2023-07-04 / Affiliate links / Images from Amazon Product Advertising API