When it comes to constructing a roof for shed, there are numerous factors that must be taken into consideration. As an advanced professional in the field, I will guide you through the essential aspects of selecting roofing products, and materials and designing and installing your roof for shed to ensure its longevity and functionality.
In this comprehensive blog post, we’ll examine the various roofing materials available for different roofing products and discuss their benefits, drawbacks, and cost considerations in detail. Furthermore, we’ll explore different shed roofing designs while taking structural requirements into account.
As we progress further, you’ll learn about the installation process including site preparation as well as underlayment and shingle/tile/slate application techniques. We will also touch upon finishing touches and maintenance tips for your newly constructed roof for shed.
Last but not least, proper ventilation is crucial for any roofing system; therefore we will examine attic ventilation requirements along with various types of systems available. Additionally, understanding local building codes & regulations is vital when embarking on a construction project such as this one – so expect detailed insights on wind loads & snow loads among other important considerations.
Table of Contents:
- Roof Materials
- Roof Design
- Installation Process
- Ventilation Requirements
- Building Codes & Regulations
- Frequently Asked Questions Roof for Shed
- Conclusion
1. Roof for Shed Materials
Selecting the appropriate roof materials and roofing products for your shed roofing that fit within your budget is essential. This article offers an outline of the diverse roofing materials accessible, their benefits and drawbacks, and cost concerns for creating a shed roofing system.
a. Types of Shed Roofing Materials
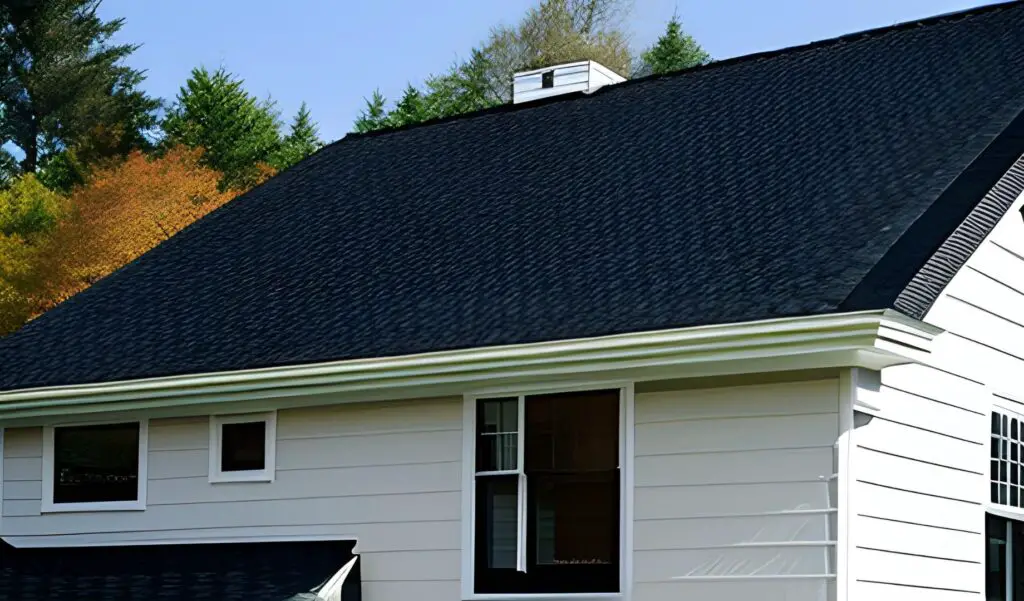
- Asphalt Shingles Roof: Asphalt shingle roofs are one of the most popular roofing types choices for roof materials for shed due to their affordability, and wide range of colors and styles. If you are out for inexpensive roofing materials, this may be your best bet. Asphalt shingle roofs are also easy to install. Asphalt shingle roofs typically last around 20-30 years with proper maintenance.
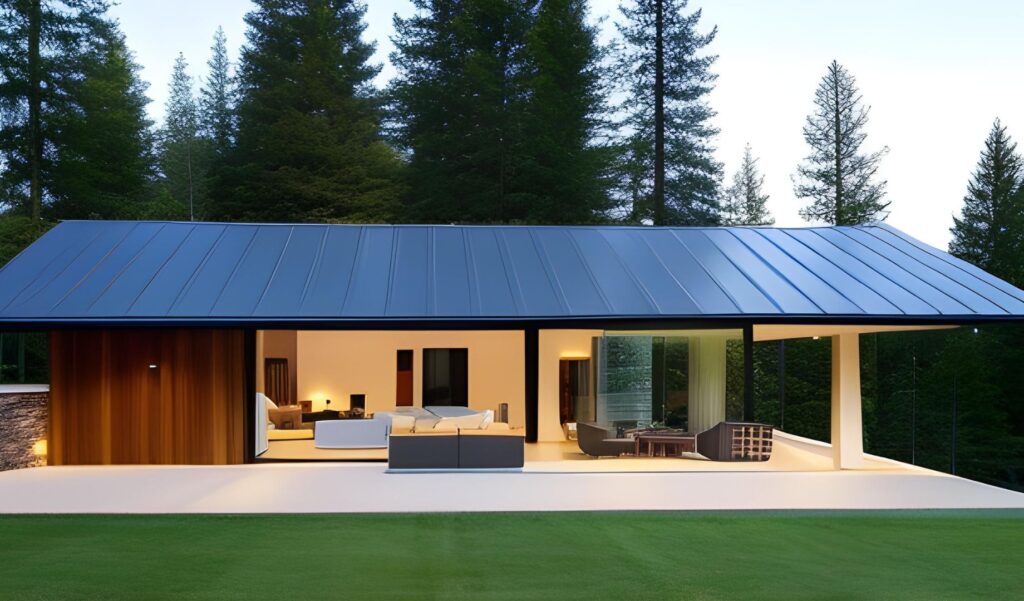
- Metal Shed Roofing: Metal shed, metal shingles, or metal roofing offers durability, low maintenance requirements, and energy efficiency. Metal roofs or metal shingles can last up to 50 years or more depending on the material used (e.g., steel or aluminum). Metal shingles or metal roofing also come in various styles such as standing seam panels or corrugated panels.

- Cedar Shingles/Shakes (wooden shingles): Cedar roofs or wood shingles are one of the roofing types that provide a natural look with excellent insulation properties but require regular maintenance like sealing/staining every few years to prevent rotting/decay. The lifespan of cedar roofs or wood shingles is approximately 30-40 years if well-maintained.
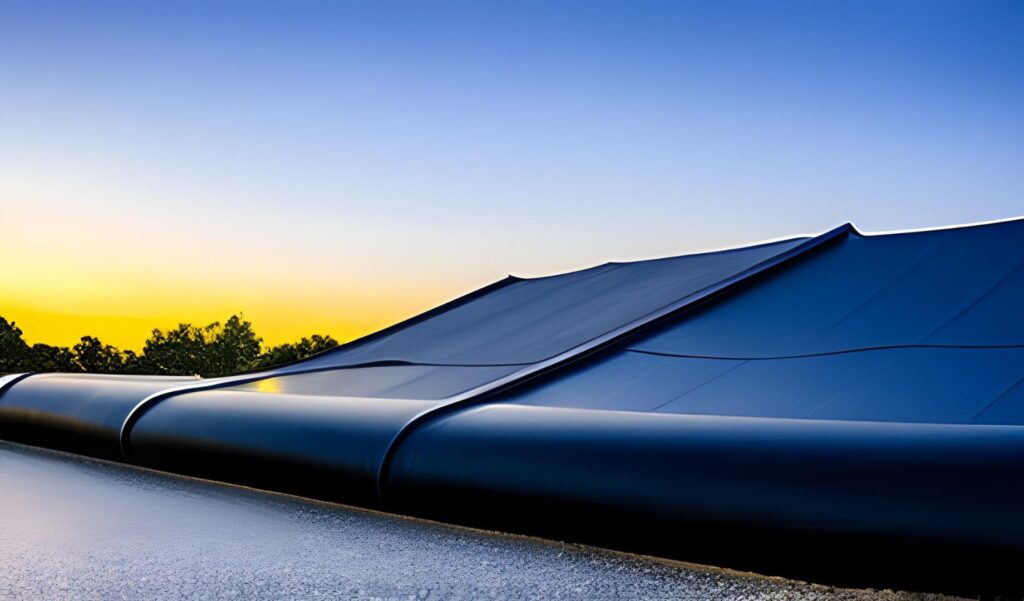
- Rubber Membrane/Ethylene Propylene Diene Monomer (EPDM): Rubber shingles or EPDM roofing is commonly used on flat roofs shed due to its waterproof properties and resistance against UV rays/weather elements; however, Rubber shingles or EPDM may not be suitable for sloped roofs without additional support structures. If the demand is for flat roofs, then you are good. EPDM roofing has an expected life span between 25-35 years when properly installed/maintained.
- Polycarbonate roof: Polycarbonate roofs are made from strong plastic but are lightweight in nature. Polycarbonate roofs can resist high temperatures. Its waterproof properties also make it a good choice of roofing type. They are inexpensive roofing materials compared to metal roofing.
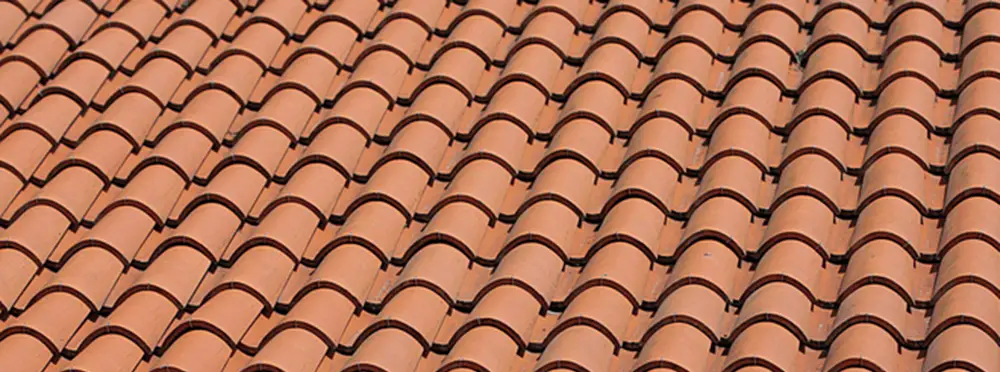
- Clay tile roof: Clay tiles are made from molded clay. These clay tiles are ceramic products that can be shaped into any form, but most often clay tiles are rectangular. Clay tile roofs are very resistant to fluctuations in temperature, erosion, and precipitation.
b. Pros and Cons of Different Materials of Roof for Shed
When selecting roof materials, one must consider the advantages and disadvantages of each material in addition to cost factors before proceeding with roof for shed design elements. Now, let’s turn our attention to the components involved in devising a roof for your shed.
2. Roof for Shed Design
When constructing a roof for shed, there are numerous elements to contemplate that will affect the overall appearance and usefulness of your structure. In this section, we’ll explore these factors, discuss common roof for shed designs, and outline structural requirements for building durable and long-lasting roof for shed.
a. Factors to Consider When Designing a Roof for Shed
- Purpose: The intended use of your shed plays an important role in determining the most suitable roof design. For instance, if you plan on using your shed as additional living space or workshop area with heavy equipment inside, you may require more headroom than what’s provided by traditional pitched roofs.
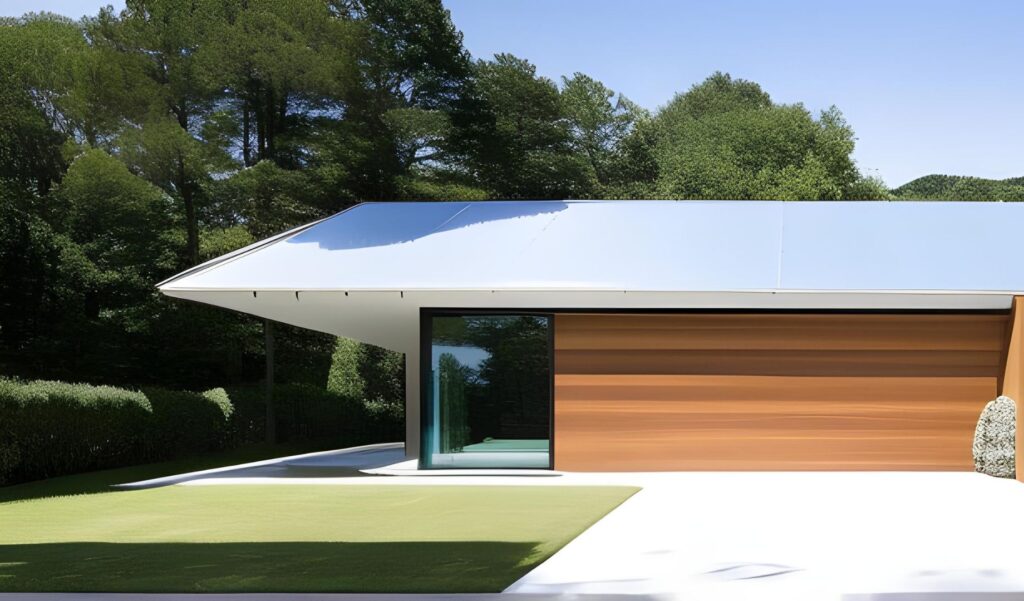
- Climate: Your local climate should also be taken into account when selecting a shed roofing design. Areas prone to heavy snowfall may benefit from steeper pitches that help prevent snow accumulation while regions with high winds might call for low-slope or flat roofs designed to withstand such conditions.
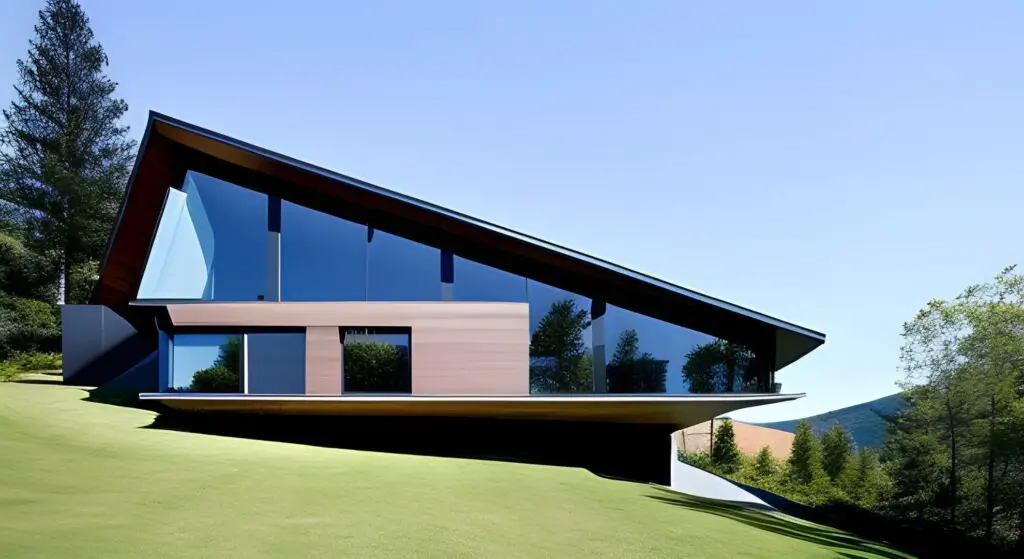
- Aesthetics: The appearance of your shed is another factor worth considering during the design process; choose a style that complements surrounding structures and enhances curb appeal.
- Budget: Lastly, keep in mind how much money you’re willing to invest in materials and labor costs associated with constructing various types of roofing systems before making any final decisions about which option best suits both practical needs as well aesthetic preferences alike.
b. Common Roof for Shed Designs
The following are some popular options when it comes time to choose between different styles available today:
- Gable Roofs – A classic choice characterized by two sloping sides forming an inverted “V” shape at the ridge. Learn more about gable roofs here.
- Hip Roofs – Similar to gables, hip roofs have four sloping sides that meet at a central point on top of the structure. This design offers additional stability and weather resistance compared to its counterparts. Discover more about hip roofs in this article.
- Gambrel Roofs – Also known as barn-style roofs, gambrels feature two slopes per side with a steeper lower slope transitioning into a shallower upper slope for increased interior space. Find out more about gambrel roof designs here.
- Roof for Shed – A simple single-slope design ideal for smaller structures or those seeking an unassuming aesthetic appeal; often used on lean-to sheds attached directly adjacent buildings such as homes garages etceteras alike. Explore various shed roof ideas by visiting this page.
c. Structural Requirements for Roof for Shed
In order to ensure your shed’s longevity and safety, it is crucial that you adhere strictly following guidelines when constructing any type of roofing system:
- Framing: Proper framing techniques are essential not only to support weight but also to distribute loads evenly across the entire surface area thereby preventing potential collapse due to excessive stress points caused by improper installation methods.
- Sheathing: Roof sheathing (usually made from plywood or OSB) serves as the base layer upon which all other materials will be installed; it must be securely fastened joists rafters using appropriate nail screws in order to maintain structural integrity over time.
- Underlayment: A water-resistant barrier (typically asphalt-saturated felt) should be applied atop sheathing prior to attaching shingles tiles slates etceteras alike protect against leaks caused by wind-driven rain ice dams and other sources of moisture infiltration.
By taking these factors into account and following proper construction guidelines, you can create a roof for shed that is both functional and visually appealing while meeting all necessary safety standards for your specific needs.
In devising a roof for shed, one must take into account such elements as the climate of the region and the dimensions of your construction. It is critical to guarantee that all necessary structural specifications are satisfied in order for your roofing endeavor to be successful. Now let’s move on to discussing how you can install your new roof for shed correctly.
Key Takeaway:
When designing a shed roof, consider factors such as its purpose, climate, aesthetics and budget. Popular designs include gable roofs, hip roofs, gambrel roofs and simple single-slope roofs for shed. Proper framing techniques and installation of sheathing and underlayment are crucial for creating a durable and long-lasting shed roofing that meets safety standards.
3. Installation Process of Roof for Shed
The installation process for shed roofing involves several key steps, from preparing the site to installing the underlayment and roofing materials, as well as finishing touches and maintenance tips. Following these steps will ensure that your roof for shed is properly installed and lasts for years to come.
a. Preparing the Site for Installation
Before you begin installing your shed roofing, it’s essential to prepare the site by ensuring that all necessary permits have been obtained and that you’re following any local building codes or regulations. Clear the area of any obstructions or debris before beginning work.
- Permits: Check with your local municipality or building department to determine if a permit is required for constructing a shed roofing in your area.
- Building Codes: Familiarize yourself with any applicable building codes, which may dictate specific requirements regarding materials, design elements, or other aspects of construction.
- Clean Workspace: Ensure that the workspace around your shed is clean and free of debris before beginning installation. Clear the workspace of any debris to prevent accidents and facilitate the movement of materials.
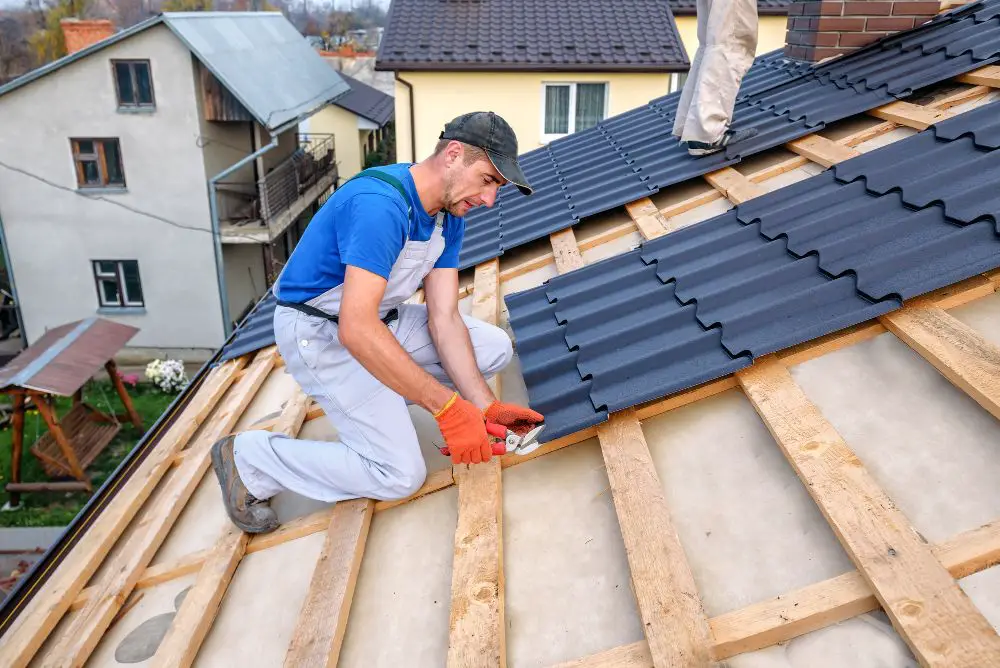
b. Installing the Underlayment and Shingles/Tiles/Slates/etc.
The next step in installing a roof for shed involves laying down an underlayment followed by attaching shingles/tiles/slates/etc., depending on what type of roofing material you’ve chosen (refer back to section one). The underlayment serves as an additional layer of protection against water infiltration while also providing insulation benefits when properly installed.
- Underlayment: Install the underlayment according to the manufacturer’s instructions, ensuring that it is properly secured and overlaps at seams. This will help prevent water from seeping underneath your roofing materials.
- Shed Roofing Materials: Attach your chosen shingles/tiles/slates/etc., following the specific installation guidelines provided by the material’s manufacturer. Be sure to use appropriate fasteners and maintain proper spacing between each piece for optimal performance.
c. Finishing Touches and Maintenance Tips
To complete your shed roofing installation, you’ll need to add finishing touches such as flashing, ridge caps, or vents (depending on your design). Additionally, regular maintenance can help extend the life of your shed roofs while also preventing potential issues down the line.
- Flashing: Properly install flashing around any penetrations in your roof (such as vents or pipes) to prevent water infiltration. For more information on installing flashing correctly, check out this helpful guide from Family Handyman.
- Ridge Caps & Vents: If applicable based on design considerations discussed earlier in section two), install ridge caps along peak lines where two slopes meet for added protection against leaks; likewise with vents if required per ventilation requirements outlined in section four). li > Maintenance: strong >Regularly inspecting, cleaning, repairing any damaged areas promptly can help ensure long-lasting durability. Some key tips include removing debris buildup gutters/downspouts; checking flashings caulking sealant integrity; monitoring signs of wear and tear like cracked curled shingles.
Before beginning the installation process, it is essential to have all the necessary tools and materials at hand. Moving forward, ventilation requirements must be taken into consideration when constructing a roof for shed in order to guarantee that your structure meets safety standards.
Key Takeaway:
To properly install a roof for shed, one must prepare the site by obtaining necessary permits and following building codes. Afterward, an underlayment should be installed followed by attaching shingles/tiles/slates/etc., with finishing touches such as flashing and vents added for protection against leaks while regular maintenance can ensure long-lasting durability.
4. Ventilation Requirements
Proper ventilation is crucial for maintaining the longevity and structural integrity of your shed roofing. In this part, we will look at the conditions for attic ventilation, survey different kinds of attic ventilating systems, and give instructions on how to figure out the amount of air circulation necessary for your shed roofing.
a. Understanding Attic Ventilation Requirements
Attic ventilation helps regulate temperature and moisture levels within the space beneath your shed roof. Proper airflow prevents condensation build-up, which can lead to mold growth or wood rot that compromises the structure’s durability. Additionally, adequate air circulation reduces heat buildup during summer months while retaining warmth during winter months.
The U.S. Department of Energy recommends a balanced system with both intake (soffit) vents at the eaves and exhaust (ridge) vents near or at the peak of the roofline for optimal performance.
b. Types of Attic Ventilation Systems
Different types of attic ventilation systems are available depending on your specific needs and preferences:
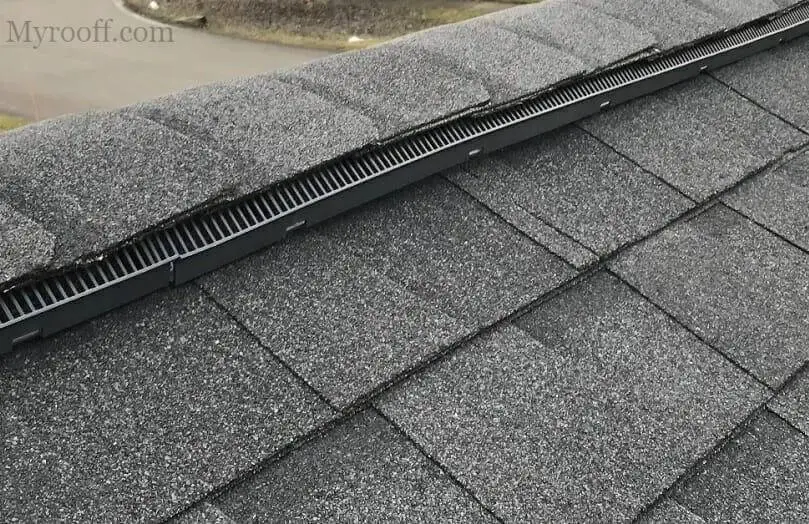
- Ridge Vents: These vents run along the ridge line allowing hot air to escape from inside while drawing cooler air through soffit vents into lower areas.
- Soffit Vents: Installed under eaves or overhangs; they provide an entry point for fresh outside air to enter attic spaces replacing warm moist indoor air expelled by the ridge venting system above them.
- Gable Vents: Mounted vertically on gable ends; these allow cross-ventilation between opposite sides but may not be as effective compared to other options due to limited airflow capacity.
- Turbine Vents: These vents use wind power to draw hot air out of the attic, but their efficiency depends on wind speed and direction.
You can choose from these options based on your shed’s design, local climate conditions, and budget constraints. A combination of different vent types may also be employed for optimal results.
c. Calculating the Amount of Ventilation Needed for Your Roof for Shed
To determine the appropriate amount of ventilation required for the roof of your shed, you need to consider both intake (soffit) and exhaust (ridge) vents. The general rule is that there should be one square foot of net free area (NFA) per every 300 square feet if a balanced system is used or one square foot per every 150 square feet with an unbalanced system where only exhaust or intake vents are present.
The NFA refers to the total open space available in a vent after accounting for any obstructions such as screens or louvers. You can calculate this by measuring your shed’s floor area in square feet and dividing it by either 300 or 150 depending on whether you have a balanced or unbalanced system respectively.
For example: If your shed has a floor area of 900 sq.ft., using a balanced ventilation system would require:
This means you will need three square feet combined NFA from both soffit and ridge vents equally distributed between them – i.e.,1.5 sq.ft each side- ensuring proper air circulation throughout attic spaces beneath roof structure while preventing moisture-related issues effectively over time.
Ventilation requirements are an essential part of constructing a roof for shed, and should not be overlooked. Moving on to the next heading, we will discuss Building Codes & Regulations that must be adhered to in order for your shed roofing construction project to meet local building standards.
Key Takeaway:
Proper ventilation is essential for maintaining the longevity and structural integrity of your shed roof. The U.S Department of Energy recommends a balanced system with both intake (soffit) vents at the eaves and exhaust (ridge) vents near or at the peak of the roofline for optimal performance, while different types of attic ventilation systems are available depending on specific needs and preferences. To determine the appropriate amount of ventilation required for your shed roof, you need to consider both intake (soffit) and exhaust (ridge) vents by calculating one square foot per every 300 square feet if a balanced system is used or one square foot per every 150 square feet with an unbalanced system where only exhaust or intake vents are present.
5. Building Codes & Regulations
These rules are in place to ensure safety, structural integrity, and compliance with regional requirements such as wind loads and snow loads. In this section, we will discuss the importance of understanding these factors when planning your shed roofing construction.
a. Local Building Codes & Regulations
Building codes vary by location and can have a significant impact on the design and materials used for the roof of your shed. It’s crucial to research local building codes before starting any construction project to avoid potential issues or fines down the line.
- Reach out to the relevant governmental organization in your locality for more details on the specific building regulations applicable.
- If you live in an area governed by a homeowners’ association (HOA), check their guidelines for additional restrictions on sheds or roofing materials allowed within the community.
- Hire a professional contractor who is familiar with local regulations if you’re unsure about navigating them yourself.
b. Understanding Wind Loads & Snow Loads
The strength of your roof for shed must be able to withstand various environmental factors such as wind loads (the force exerted by strong winds) and snow loads (the weight of accumulated snow). The required resistance depends on where you live; areas prone to hurricanes or heavy snowfall will have stricter standards than those without these risks:
- Wind Load: Research wind load requirements based on geographic location using resources like the American Society of Civil Engineers’ (ASCE) Minimum Design Loads for Buildings and Other Structures.
- Snow Load: Determine the appropriate snow load based on local climate data, which can be found through resources like the International Building Code (IBC) or your regional building department.
- Structural Engineering: Consult with a structural engineer if you’re unsure about calculating wind loads and snow loads for your shed roof design. They will help ensure that your structure is built to withstand these forces safely.
c. Other Important Considerations When Building a Roof for Shed
Beyond complying with building codes and regulations, there are other factors to consider when constructing a roof for shed:
- Zoning Restrictions: Check zoning laws in your area to determine if there are any restrictions on where you can build a shed or specific requirements related to setbacks from property lines, height limitations, etc.
- Flood Zones & Drainage Issues: If you live in an area prone to flooding or have drainage issues on your property, it’s essential to plan accordingly by elevating the structure above flood levels or installing proper drainage systems around the foundation of the shed.
- Eco-Friendly Materials & Practices: Consider using environmentally friendly materials such as recycled roofing products and incorporating energy-efficient features like solar panels into your design. Consider taking advantage of tax incentives or rebates available in your area by incorporating eco-friendly materials and energy-efficient features into the shed’s design.
Key Takeaway:
It is essential to be cognizant of any local ordinances that could influence the construction of a shed roof. Understanding factors such as wind loads and snow loads is also important in ensuring the structural integrity of your shed roof design. Other considerations include zoning restrictions, flood zones and drainage issues, as well as incorporating eco-friendly materials and practices into your design.
Frequently Asked Questions Roof for Shed
What type of roof is best for a shed?
The best type of roof for shed depends on factors such as climate, budget, and aesthetic preferences. Common options include gable roofs, skillion (single slope) roofs, and gambrel roofs.
Gable roofs are versatile and cost-effective, while skillion roofs offer simplicity and easy water runoff. Gambrel roofs provide extra storage space but can be more complex to build.
What are 3 disadvantages of a roof for shed?
Three disadvantages of a roof for shed include limited headroom or storage space due to its single slope design, potential issues with water pooling if the pitch is too low or drainage isn’t properly addressed, and reduced curb appeal compared to other roofing styles like gables or hip designs.
What is the explanation of a roof for shed?
A shed roof refers to a simple sloping style that consists of one plane pitched in one direction. It’s commonly used in sheds because it allows for quick water runoff during rainstorms while being relatively easy to construct compared to more complex roofing systems.
What is the importance of a roof for shed?
The importance lies in protecting your structure from weather elements like rainwater penetration which could lead to damage to stored items inside. Additionally, they contribute overall stability building by providing support walls against lateral forces of wind Lastly well-designed aesthetically pleasing and enhance property value
Conclusion
In conclusion, building a roof for shed is not an easy task and requires careful planning. Selecting materials that are suitable for the climate and locale, as well as adhering to all applicable codes, is essential when creating a shed roofing.
With proper installation techniques, ventilation requirements met, and all necessary codes followed – you can be sure of having a safe and durable structure in place.