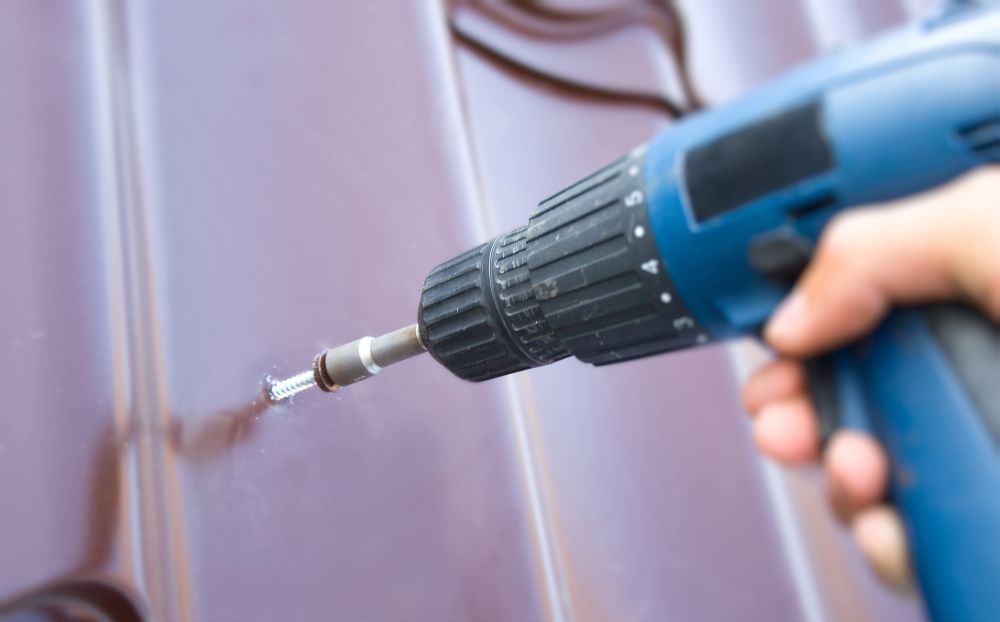
One of the biggest problems on a metal roofing installation is incorrectly fastening the screws. Correctly securing the screws could be the difference between a leaky roof and one that weathers heavy rainfall without breaking a sweat.
Contents
Your roof may have thousands of screw penetrations. Many times, I find that screws are not installed straight or are too tight or too loose. This improper screw tightening creates points of leakage.
This article will cover the right way to fasten a metal roof, swarf removal, pre-drilling screws, and chalk lines.
How To Screw Down Metal Roofing
Incorrect Fastening Of Screws
Let’s start with the biggest problem. Screws get fastened either too tight or too loose far too often. Naturally, while tightening a screw, you may go the extra extent without realizing that you have just crushed the washer!
This over-tightening will make the washer expand, and if you continue to put too much pressure, the washer is liable to break.
If you see this happening, the right thing to do is to back up a little. Let the washer come back slightly into its original shape and leave it there.
The other thing that happens is that sometimes we get too cautious and do not tighten the screw as much as we should. You can see this happening if you spin your screw and find that the washer is spinning without a fuss. A spinning washer indicates a loose screw, and you should make sure to tighten it.
Proper Way To Screw Down Metal Roofing
I always say this to my friends – if you’re going to screw, screw straight! You should always install screws straight, not sideways. When you install screws sideways, you end up tilting them. The rubber washer will have no chance to seal the hole correctly.
These tilted screws can create leak points later on. If you find that while screwing, the screw has tilted sideways, then take your screw head out, and screw it back in, making sure to do it correctly this time.
Keep Swarf Away
Swarf is metal shavings left behind when you drill or cut a panel on a metal roof. If you leave these shavings on the roof, you will quickly find dark spots on your panel indicating rust. Even if you leave them overnight, you will find rusted points in the morning on the roof.
To avoid all this, brush away the swarf with a soft brush, or wipe your panel clean.
Using The Right Tools
I always suggest people use a screw gun. Never use an impact driver, or for that matter, a drill gun.
A drill is a peculiar thing. It does not disengage when you let go of the trigger. Hence, if you don’t let the trigger go at just the right moment, you will end up over-tightening your screws, and this damaging the panel.
Using an impact gun to fasten screws is even worse.
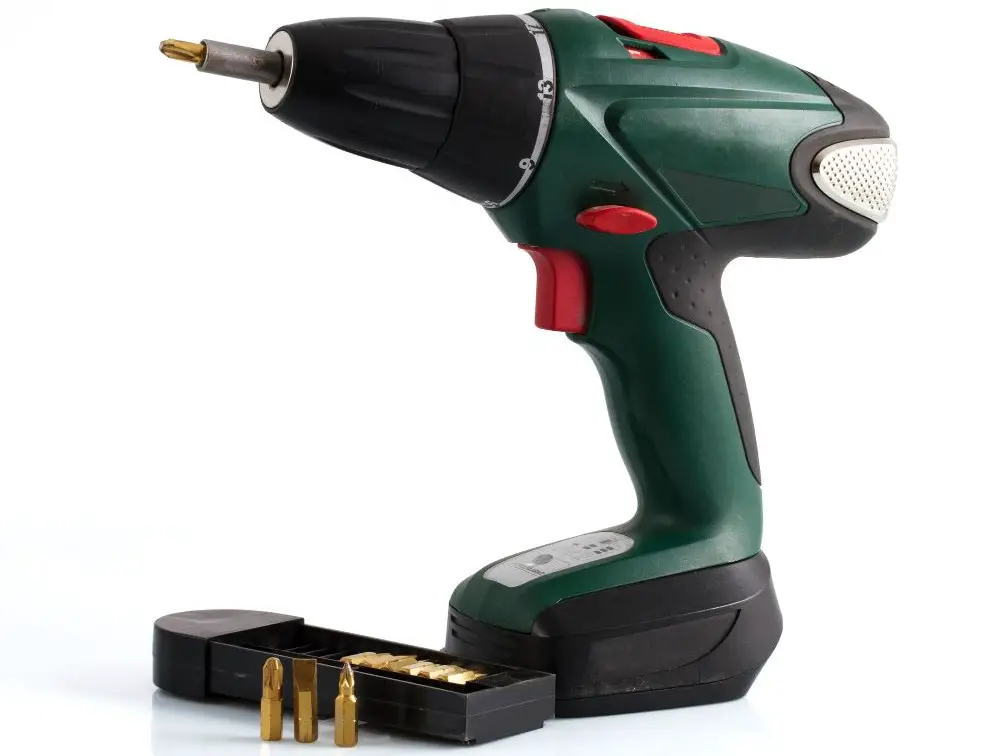
Always use an actual screw gun. Look for one that has a depth sensor and a clutch that you can easily adjust. Over time, you will understand the torque settings that will screw in your screws perfectly, neither over-tightening them, nor letting them loose. If you need more comfort, a speed control function will help you perfectly adjust your speed as well. Match the speed of the drill to the substrate or a screw type.
- For steel and wood substrates (less than ¼ inch thick): use a setting of 2500 RPMs
- For steel substrates (more than ¼ inch up to ½ inch thick): use 2000 RPMs
- For even heavier substrates: use between 1000 RPM to 2,000 RPM
Pre Drilling
Pre-drilling is a very good idea, from my experience. Let me tell you why:
- You save a lot of time by stacking the sheets atop each other and then just drilling holes once in the entire lot.
- Pre-drilling produces cleaner, more aligned holes. You can use a chalk line to make a very straight line for the screw installation.
- Pre-drilled holes guide the screw into the substrate. You can be assured of a straighter screw when you have a pre-drilled sheet.
There are some places where pre-drilling may not be a good idea when drilling over metal purlins. Once you make a mistake in a metal purlin, there is no way to go back. So I don’t recommend pre-drilling for metal purlins.
Using Chalk Lines
Chalk lines are an excellent way to ensure that your screw lines remain straight, giving you a cleaner and neater installation. Remembering chalk lines is that you should not use dark colors like red because they will leave a tough to remove line on your metal roofing. Instead use blue, or a shade of white.
How To Screw Down Ribbed Metal Roofing
For this, you would probably want to use a cordless drill with a clutch unit, which can tighten the fastener without overdoing it. When using the drill, you should set it based on the type of wood you will be using. On a purlin, I would suggest using a twelve or thirteen.
When overlapping the panel, you should make sure that your over-flap is going over the under-flap, which has the drain channel. Both should be at the same height.
Now, you can put the metal roof screws on the rib or flat. Both are acceptable, and both have their pros and cons. If you’re going into the flat, I suggest using a one-inch or a one-and-a-half-inch screw, but when you go through the rib, you should use a two-inch or a two-and-a-half-inch screw.
You can keep the washer slightly tight when going into the flat so that it fits nicely on the sheet. Remember not to overtighten; otherwise, you will put too much pressure on it, and it might break. When you’re putting a screw in the rib, remember never to tighten it too much because it will damage the rib.
How To Screw Down Corrugated Metal Roofing
When talking about corrugated metal roofing, the one question that I always hear is where to screw corrugated roof panels? Do the fasteners go on the highs or lows of the panel when fastening?
Corrugated Metal Roof Screw Placement
I recommend that you should place the fasteners on the high seam of the panel. Here’s why:
- You will have a more weather-tight panel because this method will not expose the screws to water and debris.
- The valley of the low is narrow, and the screw head is large in comparison. The screw head will try to hold the water as it passes. If your washer fails, the screw will leak. This leakage does not happen if you place the screw on the high.
Are there any screws that you should place on the low seam? Yes, if you are screwing along with the gable trim, you should place the screws on the low seam. The screw will be protected and not interfere with the gable trim. It will also keep the panel secure if the gable trim is ever to come undone.
Wrap Up
That brings me to an end on this blog about how to screw down steel roofing. I hope I have covered all the major points and answered some important questions.
If you have other questions, and more importantly, comments and suggestions, please do not hesitate to write them down in our comments section below. I would love to learn from you and use that knowledge to help others in their metal roofing projects.
Happy roofing!
Last update on 2023-07-04 / Affiliate links / Images from Amazon Product Advertising API

Hi, I’m Jim. I was a roofing constructor for 20 years, before deciding to start myrooff.com and gather the best content about roofing. I love woodworking and construction and it was only natural for me to start this passion project of mine. Thank you for visitng.