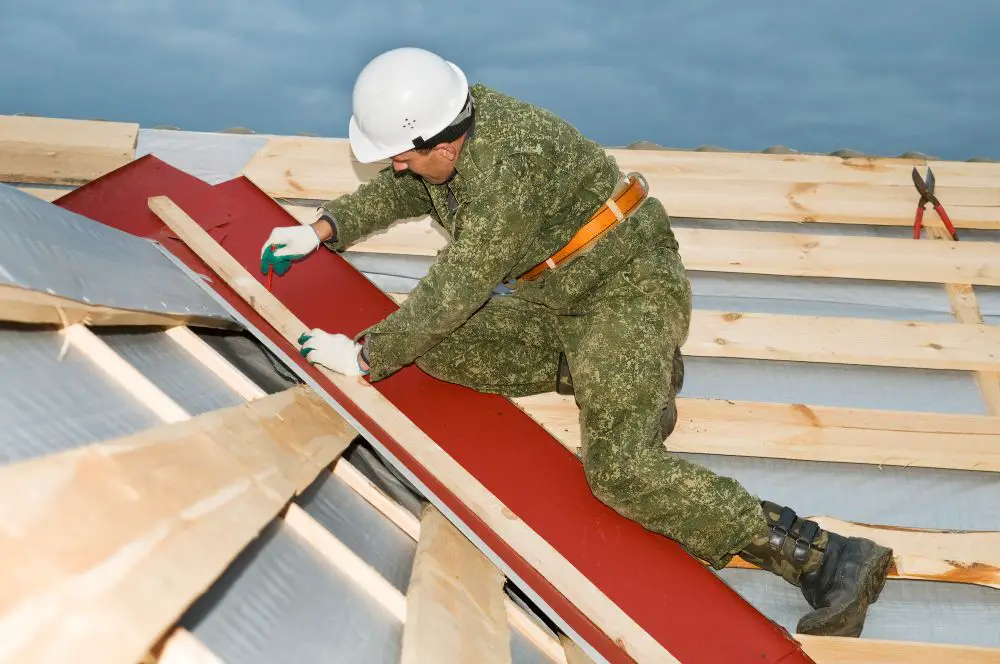
I have been doing roofing all my life, ever since I was a boy. My dad was into roofing, and I used to accompany him on his jobs, helping out the old man with anything he needed ever since I was ten years old.
Contents
Many people ask me questions about roofing, and one of the most common ones is “How to install metal roofing around vents?”
It’s a very simple process. Let me take you through step by step, and I hope you enjoy doing this work with your kids like I used to do with my dad!
How to Install Metal Roof Vents
I will cover the process in parts, first the groundwork, then the laying of the panels, and then I will come to the actual installation of the vents. Let’s talk about the preparatory work that you need to do:
1. Decide the Kind of Vents That You Need
Vents come in many types, and each has its usage. There are whirlybird vents installed on the roof for air vents to let out the air. You may also have a ventilation system on the ridge of the roof, which is usually slatted. In this article, I am mostly discussing plumbing vents instead of air vents (the kind covered with a vent flashing).
2. Getting ready
You have to figure out where you are going to place the vents on the roof. This depends on the kind of vents you are installing; you should look for manufacturer recommendations on spacing and placement.
Now that you know what you will install and install it let’s get to the next part, which involves placing the panels correctly.
How to Install Metal Roofing Around Vent Pipes
When installing metal roofing around vent pipes, the important thing to remember is always getting the alignment right. Here is what you should do:
1. Get as Close as Possible
As you are installing the panels, try to get as close as possible to the place where the Vent is supposed to go in so that you can mark out exactly where the Vent is to go through the panel.
2. Mark Out the Vent
You need to make sure that there is enough wiggle room for you when you install the Vent, so mark out a circular hole with a diameter that is at least a ½ or ¾ inch bigger than the actual Vent’s diameter. You can use a measuring tape and then draw out the circle with a marker.
Ensure that your marker is dark and stays long; otherwise, you run the risk of it getting faded before you get to installing the Vent. (This has happened to me before, and I cannot begin to tell you how much you don’t want this to happen.)
If you don’t have a marker, you can also use a chalk line. Remember not to use a dark color like red, instead use a lighter shade that won’t show later.
3. Cut Out the Shape
Using the circle that you just drew, cut out the hole with a tin snip or a metal cutter. Don’t worry too much about making a perfect circle since the flashing will anyways cover it later.
Pro Tip: If your vents are all of the same shape and size, you can save a lot of time by placing your sheets one over the other and cutting them together using a hole saw.
4. Put in Place
Now that you have the vent hole ready, carefully place the sheet on top of the Vent so that the Vent goes into the center of the hole that you just cut out. Make sure that the gap that you intended is available on all sides. The gap is useful for installing the flashing later on.
5. Move On
Now you can go ahead with installing more panels. When you reach the next vent space, follow the process once again.
How to Install Exhaust Vent on Metal Roof
Coming on to the actual installation of the Vent
Apply Tar Brush
Take a tar brush and put in a layer of tar (make sure it should not be very thick) around the holes you had cut earlier. The tar will act as an initial sealant.
Put in the Vent
Now that you have everything in place put the Vent into the space you have left for it. Drill holes and screw in the Vent if necessary to ensure that the Vent is secure in place.

Second Layer of Tar
Once the Vent is in place, apply another tar layer along the sides of the Vent, It will fill up the space left out and fill the gap between the roof and the Vent.
Seal
Go to the attic under the Vent. Apply more tar and make sure to seal the vent gap even from the underside completely. If you have a cover plate as part of your vent installation kit, make sure to use that and cover the hole. Secure the cap with screws.
Installing Vent Flashing
When you are done installing the panels, installing the flashing on top of the vents is time. The best way to install flashing is to apply a liberal amount of through-the-roof sealant on both the inside and outside edge.
The sealant will effectively close off the Vent and leave no scope for rain or water. After you have applied sealant, use screws to fix it in place. Be sure to use screws liberally and leave no gap between the bottom edge of the flashing and the roof.
B-Vent Flashing for Metal Roofs
A B-Vent has a larger space around it that you need to cut through the roof to install the Vent. To prevent the B vent hole from letting water into your home, you have to install a specific type of flashing known as B-Vent flashing.
A B-Vent flashing has two parts; a base flashing and another flashing that comes on top. The way to install it is simple: first, apply the base flashing to the pipe and seal it onto the roof.
You then apply a storm collar to make the base flashing waterproof. Use sealant liberally to make sure that the storm collar is in place.
Next, you apply the metal sheet on top of the storm collar, and then apply the second flashing of the B-Vent and seal it in. This way, the B-Vent is completely sealed off from all weather conditions.
How to Install Metal Roof Vent Ridge
1. Preparation
Lay the ridge cap down and begin marking the outside edges with a carpenter’s pencil to ensure roof panels are free from dust and debris; a clean surface is needed for adhesive to stick properly.
2. Installing Ridge Vent
Start from the edge and begin rolling the ridge vent along the length of both sides of the ridge cap outline. Ensure the bottom edge of the profiles and ridge vent is one inch upslope from the ridge cap outline. Place the caulking along the gable.
3. Fastening the Ridge Cap
Fasten the ridge cap with metal to metal fasteners at approximately 12 inches on center, hitting the high seam of the roofing panel. Make sure to align the screws with the vented closure. You should place the screw on each side of
ridge cap ends
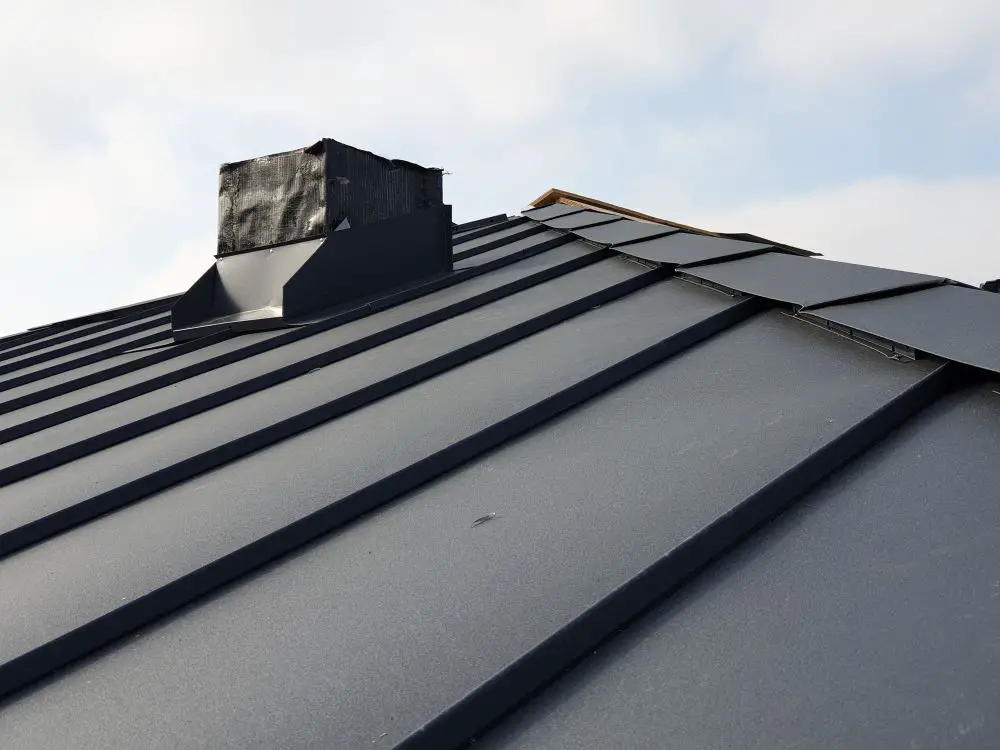
Installing Roof Vents for Corrugated Metal
Applying a roof vent on a corrugated metal sheet is slightly more complicated. You can follow the below steps:
Choose an Installation Point
Try to ensure that the Vent is located near the center of which area you would like to get ventilated. Make sure that the location is near the ridgeline.
Mark the Base Flashing
Make sure that the base flashing is centered between two ridge capping screws. Remove the screws (keep them with you). Slip the top edge of the base flashing under the ridge capping, ensuring it covers the corrugations equally.
Mark the hole with a chalk line using the flashing as a guide. Drill a pilot hole and then cut the hole with a tin snip.
Using the caulking gun apply a bead of silicone to the flashing edges to ensure a waterproof seal.
Install Base Flashing
Place the base flashing and secure the flashing to the roof metal through the ridge capping using the screws you removed earlier.
Secure the base flashing to the roof metal with self-tapping screws. Bend down the flashing at the bottom edge of the roof and make two small incisions above each corrugation valley to ensure a close fit. Now you can go on to install the roof vent as usual.
Wrap Up
I hope I was able to answer some important questions about installing vents through a metal roof. For more questions, comments and suggestions, do leave your thoughts behind in the comments section below.
Last update on 2023-07-04 / Affiliate links / Images from Amazon Product Advertising API