Have you been thinking about changing your roof? Maybe you’ve grown tired of the maintenance required for your asphalt shingles. If you are looking to change your roof, you should opt for a metal roof as they are durable and lightweight. These roofs are a popular choice for homeowners nowadays and will protect you from harsh environmental conditions while remaining stylish.
Contents
If you look into metal roofs, you’ll find many different gauges available on the market including 22, 24, 26 and 29-gauge metals. The 29-gauge metal roof is the most popular type in the US. They are thinner when compared to other gauges but they are durable, inexpensive, and lightweight. If you install them properly, they can easily last for more than 25 years.
If you don’t cut the 29-gauge metal roofing sheets or install them properly on your house you will face frequent leakages. So you’re probably wondering how to cut 29-gauge metal roofing? Cutting a 29-gauge metal sheet isn’t difficult – you’ll just need the right tools and to follow some simple steps. This article will describe a 29-gauge metal roof installation and how to cut 29-gauge metal roofing in 5 easy steps.
What Is A 29-Gauge Roof Metal?
Gauge means the thickness of the metal. If you are installing a 29-gauge roof metal, then as a homeowner, you should know about this gauge in detail. A 29-gauge is thinner than 22, 24 and 26-gauge roof metal.
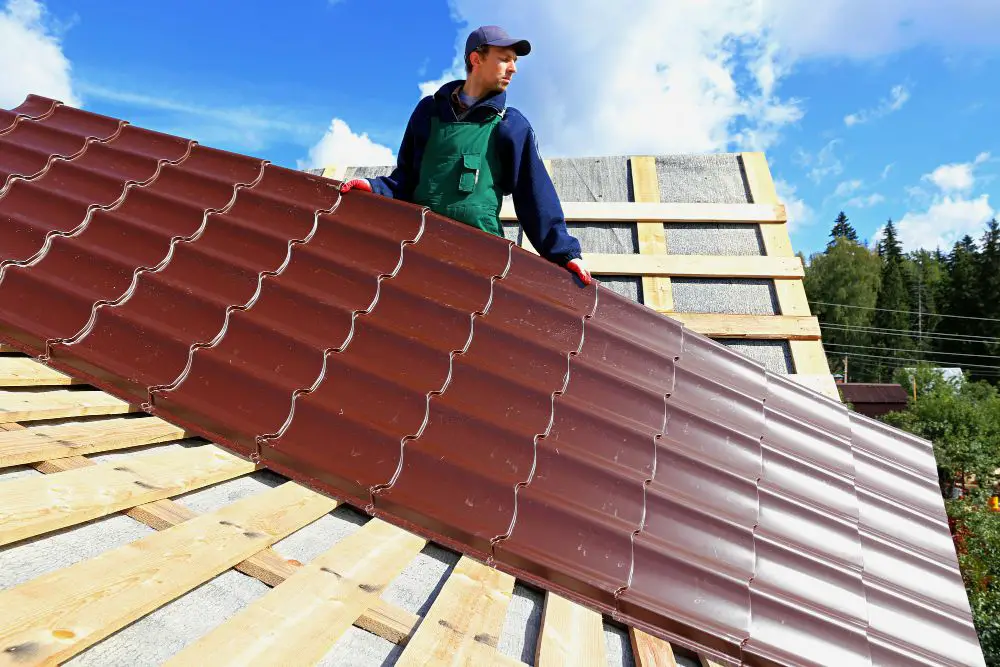
A 29-gauge metal roof weighs approximately 9 ounces per square foot. They’re inexpensive, yet durable and energy-efficient. The 29-gauge roof metal reflects the sun’s rays and keeps your house cool. This cooling effect reduces the amount of work your central air conditioning needs to do in the summer. As a result, it will reduce your electricity bill, which I am sure you will love!
How Long Will a 29-Gauge Metal Roof Last?
The durability of a 29-gauge metal roof is probably the first thing you want to know. 29-gauge metal roofs last for around 25 years. They do not require heavy maintenance.
You should apply primer and coating every few years, but that’s about it. Of course, if you find leakages, then you need to repair them as quickly as possible. Otherwise, it might end up spiraling into a bigger problem.
Is a 29-Gauge Metal Roof Good?
There are so many metal gauges available in the market for roofing that it can be overwhelming. A popular question among first-time metal roof owners is whether a 29 gauge metal roof is good?
The simple answer is yes, it is very good. It has excellent durability, high energy efficiency, a good lifespan, and best of all; it is economical.
You don’t need very thick metal for the roof of your house unless you live in areas that receive extreme weather, such as regular cyclones or hurricanes. A 29-gauge metal roof provides more than enough protection for most homes.
Another thing you should keep in mind is that if you’re living in a location that receives a lot of snowfall, it’s better not to use a 29-gauge metal roof. It’s possible that with a thin metal roof that the weight of the ice might cause dents in your roof.
How To Cut Metal Roofing?
Now that you have made up your mind to purchase 29-gauge metal roofing sheets for your house, the next question would be how to cut 29-gauge metal roofing.
With the help of a few simple tools, you can easily cut your metal panels by yourself. You must be very careful while cutting the metal sheets. If you don’t cut the metal panels appropriately, then your 29-gauge metal sheets will rust after a short amount of time.
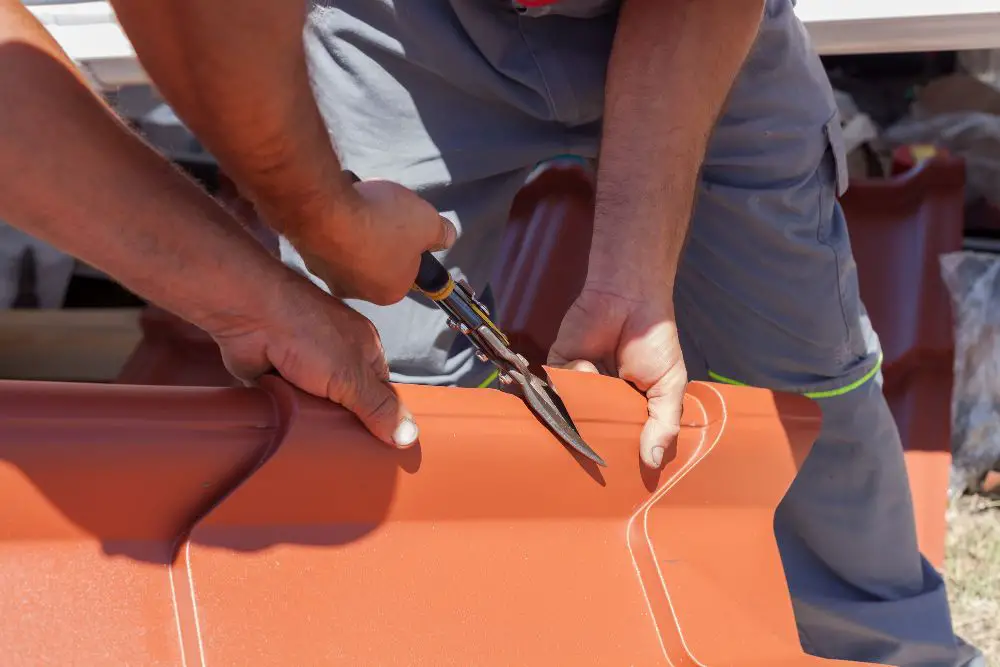
If you think that you will not be able to cut the 29-gauge metal sheets by yourself after reading the steps below, then seek the help of a professional. It’s always better to hire professional help in large roofing projects if you’re not completely sure of yourself.
So without further ado, here are the steps to cut 29 gauge metal roofing.
#1. Lay Down Your Metal Sheets
First, you should lay the 29-gauge metal sheets on a flat surface where it will be easy for you to cut the sheets. Now you need to flip up your 29-gauge metal sheet so that the underside will face up. Turning it upside down will make it more accessible for you to cut.
The top side usually has ridges, which will make it difficult to cut the metal sheets cleanly. It will require a lot of extra effort, and you need to be very careful if you are cutting from the top. I wouldn’t recommend it.
Ensure that you cut the metal sheet in a straight line (we will get to how to do this in a minute). You can use a ruler or a straight stick to align the metal surface and then use roofing chalk to line out the cutting area.
If your first metal sheet tilts while cutting, all other metal sheets will tilt, which will be a problem during installation. Accuracy is very important when cutting a 29-gauge metal sheet.
#2. Calculate How Many Panels You Need For Your Roof
You need to calculate the approximate area of your roof by measuring the length and width of your roof. If you multiply the length by the width, you can calculate your roof’s total square footage on one side. Multiply this number by 2 to get the total square footage of your roof.
Similarly, calculate the area of a single metal sheet. Now divide the area of the roof by the area of the metal sheet. This will give you the number of metal sheets you need for your roof.
For example, if the roof length is 12ft X 9ft, the area is 108 sq. ft. Now let’s say the sheets that you bought are R-panels that are 3ft x 3ft, which means their area is nine sq. ft. Dividing 108 by 9, you will need 12 panels for your roof.
#3. Measure And Mark
With the help of a tape measure, you need to mark the initial and endpoint of your sheet where you want to cut. Now use a combination square and try to align it with your markings.
A Combination Square
Source: Kyle Van Horn, CC BY 2.0 <https://creativecommons.org/licenses/by/2.0>, via Wikimedia Commons
A combination square consists of a ruler and a head. You can set the head of the combination square on the edge of the metal sheet and stretch your ruler from the initial and endpoint of the marking on the 29-gauge sheet. This is a crucial step, so try to do it carefully.
The markings should be as precise as possible. You need to keep in mind that your metal sheet may be prone to rust after cutting if you make a single mistake during these steps.
#4. Wear Protective Accessories
While cutting metal, you will be exposed to dust and dirt. This dust and dirt can get in your eyes, so you should wear a protective accessory to prevent this.
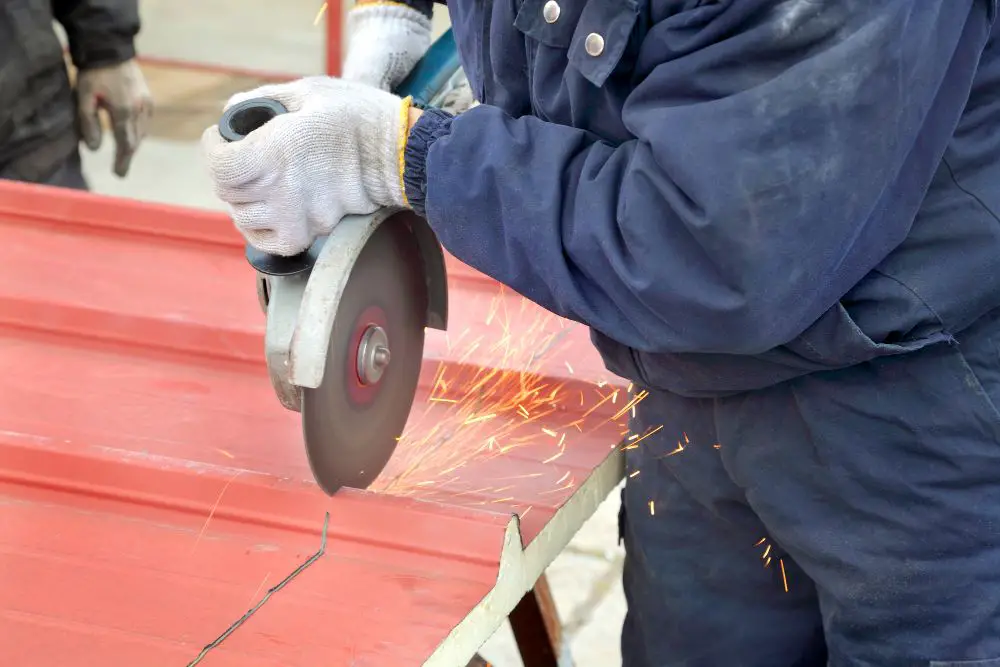
You should wear a full sleeve shirt and full-length pants while cutting your sheet. Try to wear earplugs because when you cut metal sheets with a saw, it creates a lot of noise which can damage your ears. Wear protective goggles and a safety mask to avoid metal scraps, filings, and dust entering your eyes and nose.
#5. Select Tools To Cut Your Metal Sheet
There are multiple tools to cut 29-gauge metal roofing like tin snips, circular saw or nibbler, power shears, and angle grinders. Most people are comfortable with tin snips/aviation snips. They are easy to use. The tin snips are similar to scissors. You can operate them with one hand. It’s not tricky, but you need to be mindful while cutting with tin snips.
How Will You Cut Your Metal Sheet With A Snip Tool?
The aviation snips or tin snips have a spring to ease the pressure on your hand and are available in various colors. The handles of tin snips are either green, yellow, or red. You should select the color according to your desired cut for the metal sheets.
If you want to have a perfectly straight cut, then you should choose the yellow handle. Most house owners prefer to use a yellow handle snip to cut 29-gauge sheets.
When you want to trim the excess metal from the 29-gauge metal panel, you only need to use the right-hand and left-hand handles of the aviation snip. You need to use the red handle to trim the left side of your 29-gauge metal, and for the right side trimming, you can use the green handle.
You cannot use these right and left handle tin snips for trimming a large portion on your metal sheet. If you need to cut the large portion of a metal sheet and there is no alternative, start one and a half inches or two inches away from the mark to have a clean and straight cut. Try to avoid it if at all possible because trimming a large portion of the metal sheet with a tin snip can produce an uneven or rough edge.
How To Cut Metal Roofing With Tin Snips
Like I mentioned before, your tin snip is just like a pair of scissors and while trimming your 29-gauge metal sheet you should try and think of it like a sheet of paper. Just remember that you need a straight, clean cut.
Open your snip and keep the upper blade of your tin snips on the marking you made earlier. It is best to fit the metal and upper blade of the snips together as tightly as you can.

Now press the handle of the jaws together with your hand. Repeat the process until you finish your cut. Finally, you’ll need to file the edges of your 29-gauge metal sheet to remove the unwanted portions. Your metal sheet should look nice and clean.
The 29-gauge metal sheets are pretty thin, so you can easily use tin snips or aviation snips to cut them by hand. The best tin snips for metal roofing are Hurricane 10 inch snips.
How Can You Cut Metal Sheet With Power Shears?
Cutting a metal roof with shears is not a difficult task. It will make your work more accessible, and you can trim multiple metal sheets quickly.
The power shears work like scissors or your tin snips, but they are electrical. You need to align the power shear cutting tool perfectly with the markings you previously made on the metal sheet.
While trimming the metal sheet, hold the power shear properly and press the trigger. You should have control over the blade. If your blade is not firmly under your control when you begin cutting the sheet it will result in an uneven metal sheet that may rust within a short period of time.
You can cut your 29-gauge metal sheet with the help of power shears, but what about 26-gauge metal? 26-gauge metal is thicker than 29-gauge. The 26-gauge metal can be quite expensive but is designed to be thicker to withstand harsh environmental conditions.
You’re probably wondering how to cut 26-gauge metal roofing? You can cut a 26-gauge metal sheet with the help of power shears or tin snips, or a circular saw. In my opinion, you should go for snips because handling them is easy, and there are fewer chances of rusty burr on metal sheets while trimming.
How Can You Cut Metal Sheets With A Nibbler?
Cutting metal roofing with a nibbler is quite similar to using a circular saw. The nibblers are not suitable for straight cuts. It is best if you always keep the nibbler parallel to the marking which you had previously made on your metal sheet.
A professional uses a high-quality nibbler. A cheap quality nibbler is also available in the market, but they are inefficient when compared to an expensive nibbler. You need to handle an affordable quality nibbler very carefully. Otherwise, it may curl your sheets.
How Can You Cut a Corrugated Metal Roofing?
Corrugated metal sheets are wavy in design. They are lightweight and durable and this style of metal sheet can withstand harsh environmental conditions. Now the question that comes to mind is how to cut corrugated metal roofing? If you have decided to install corrugated metal on your rooftop and you want to cut the metal sheets and install them on the roof yourself, then how to cut corrugated metal roofing is an obvious question. You can cut these metal sheets with tin snips, a circular saw, or an angle grinder.
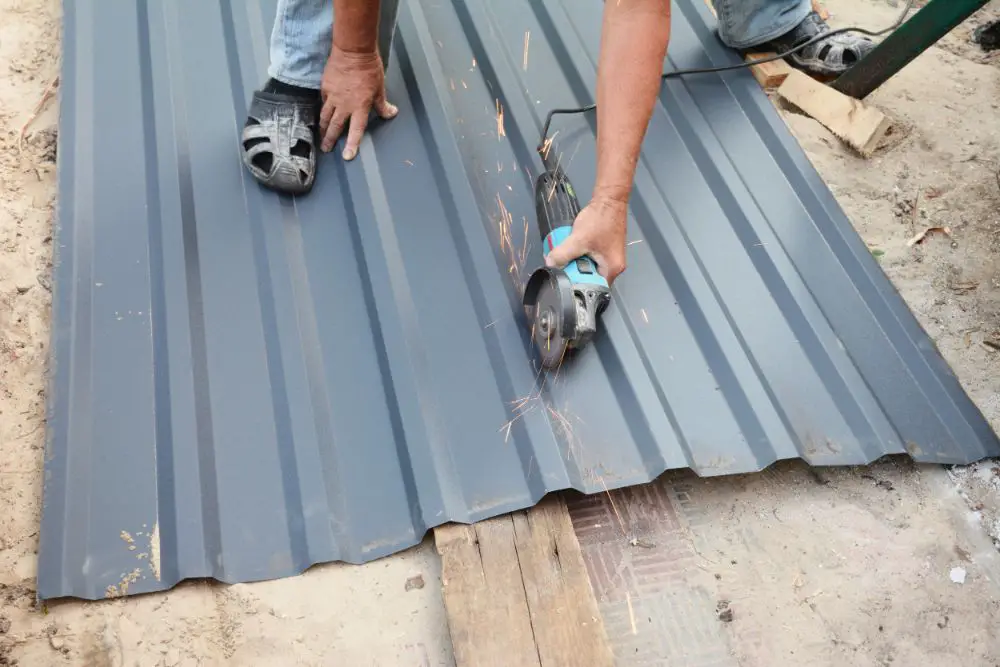
First, I will discuss cutting corrugated metal with a circular saw. A circular saw consists of two essential parts: the saw itself the blade. You will find three types of blades readily available in the market.
There are steel blades, carbide blades, and diamond blades. The carbide blades or Irwin cutting blades are expensive but are long-lasting. A diamond blade will give a clean-cut, but it is usually not affordable. You should probably opt for a carbide blade.
Wear a pair of gloves and a welding mask while cutting your corrugated metal sheet. Try to work in a well-ventilated area, because the fumes generated while cutting the corrugated metal sheets are dangerous for humans.
Now place the corrugated metal on a workbench or flat surface. Align the blade of the circular saw on the metal sheet’s marking and press the trigger. Try to cut slowly and carefully while working with a circular saw. If, by chance, your saw doesn’t move forward then close the trigger immediately.
How To Cut Corrugated Metal With Tin Snips?
You can also cut corrugated metal with the help of tin snips which, as I’ve mentioned, are just like a pair of scissors. One should hold the snips in one hand, place its blade on the marking of corrugated metal, and cut it. Press the handle while cutting your sheet. This is a very easy method, and you will likely get a straight cut with tin snips.
How To Cut Corrugated Metal With An Angle Grinder?
We can cut a corrugated metal sheet with an angle grinder. Try to fix a diamond blade on the angle grinder as it will not cause your metal to rust. Diamond blades are also extremely long-lasting. You need to hold your angle grinder 45 degrees to the marking on the corrugated metal which you are going to cut.
Friction will be generated between the metal sheet and the angle grinder, so there is no need to apply much pressure. A slight amount of pressure will move the wheel or blade forward and cut your corrugated metal sheet. Cutting metal roofing with an angle grinder will leave a smooth surface and no burrs on your sheet.
How Will You Install A 29-Gauge Metal Roof?
If you have purchased a 29-gauge roof metal, it’s an obvious question on your mind regarding how to install 29-gauge metal roofing. Installation is not very difficult. You have to follow a few simple steps, and your roof will be ready within no time at all.
#1. Give Priority To Your Safety
Always prioritize safety when installing 29-gauge metal roof panels. Try to keep a ladder running from the edge of your roof to the ground so that if there’s a problem, you can leave the roof quickly and easily. Wear appropriate shoes and always wear gloves during installation. There should not be any cables on the roof when you begin work on it. You may choose to wear a harness while working on your roof to prevent accidental falls.
#2. Select Materials
Various metallic roofs are available for 29-gauge metal sheets like copper, tin, aluminum, zinc, and steel. You’ll need to select among them according to your cost expectation and geographical location. Usually, people prefer steel roofing because it is durable, has a good life span, is corrosion-resistant and is inexpensive.
Other materials are also suitable. For example, copper metal roofs are good and can have a lifespan of 200 years! This longevity means that they are costly, however. Aluminum is lighter and durable but dents quite easily.
#3. Measure The Area Of Your Roof
You should know the square footage of your roof before ordering 29-gauge metal roofing material. If you have a gable roof, measure the length from the rake to the eaves of your roof.
Measuring your roof sideways will give you the width. Now multiply the length and width to get the square footage of one half of your roof. Multiply this number by two to get the total square footage of your roof area.
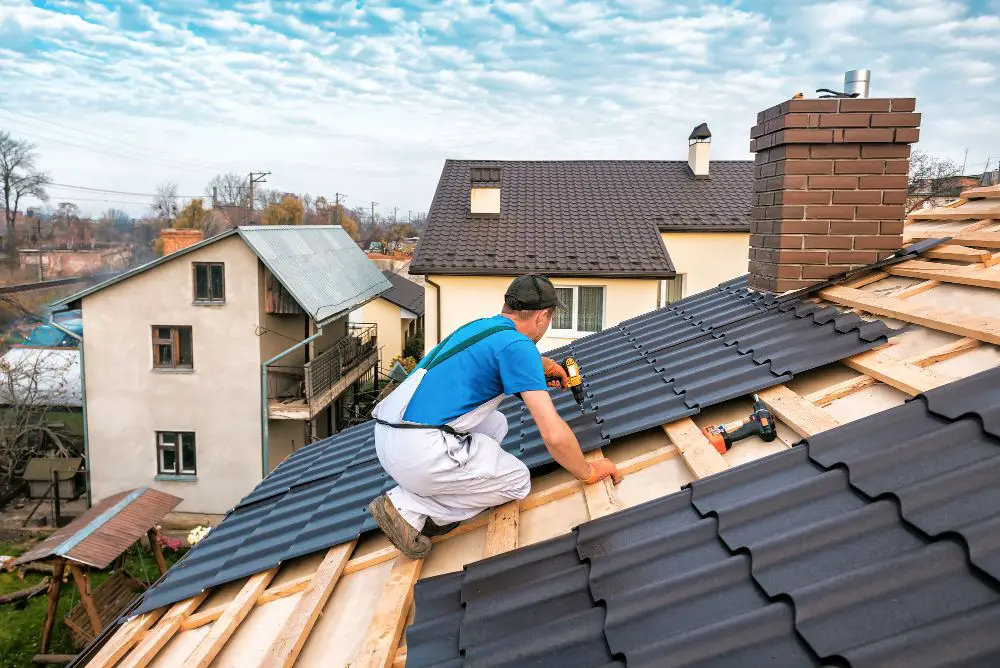
Keeping the square footage in mind, you can now order your 29-gauge roof panels. Be sure to remember to order screws along with the panel to ensure the colors match.
#4. Remove Your Old Roof Panels
Remove the old roof panels from your house. If there is a fault in sheathing and flashing, then repair it at this point. If you find nails jutting out, then hammer them in or remove them.
#5. Install Drip Edge
Now you must install the drip edge on the perimeter of your roof with the help of 2-inch nails. The drip edge is crucial because it will help in directing water to the gutter.
#6. Install Your New Roof
Now it’s time to install your 29-gauge roofing material. The first metal panel will overlap the edge of your roof by one-fourth inch. Lay down all of your metal panels so that the larger edge of one panel will overlap with the shorter edge of the next panel.
Then add silicone sealant to each of the metal panels so they adhere together. Try to follow the manufacturer’s guidelines during the installation of 29-gauge metal roofing material.
#7. Install Ridge Cap
This is an important step. After installing all of the 29-gauge roof panels, you need to install a ridge cap. Simply put, you need to install a few strips on the portion of the roof where the two slopes meet. These ridge caps will help balance the temperature in your home.
Roofs are commonly 12 feet wide or longer, but the ridge caps are only 10 feet long. Therefore, you need to overlap them. Overlap each ridge cap by 6 inches and adhere them to each other with the silicone sealant.
Conclusion
A 29-gauge metal roof is quite suitable for residential projects. If you properly cut this roofing material and install it according to the manufacturer’s guidelines, its lifespan can exceed 20 years.
In this article, I have taught you how to cut 29-gauge metal roofing and how to install 29-gauge metal roofing in detail. After reading this article, I hope you will know the various tools you can use to cut metal roofs and how to cut and install the metal sheets on your roof.
If you feel that you cannot do it yourself, you can hire a roofing professional. Professionals will be able to install your roof perfectly.
If you have further questions or other comments and suggestions on this article, we would love to hear them.
Happy roofing!
